
- Super Glue vs Epoxy - February 10, 2022
- How to Get Started with Stippling Art - January 18, 2022
- Brother PE770 Review and Guide - January 14, 2022
So you’ve seen the plethora of sewing patterns available on your machine, exciting, right? But how do you know which is the strongest for your project?
There are a few things to consider regarding stitching strength, depending on your project type. So, in this guide, we’ll cover the most robust stitches, how they’re used, and when to use them. We’ll also recommend some of our favorite products for ensuring your stitching game is a strong as it can be.
But before we dive into all of that, it’s worth noting that we’re referring to tensile strength when we talk about stitch strength. For the uninitiated, tensile strength concerns the thread’s ability to resist the force that pulls it apart. We’ll also factor in durability for some stitches, which measures how long the stitch holds over time.
That said, the relative strength of a stitch is impacted not only by the stitch type but also by the machine and thread you use. So, be sure to bear all of that in mind as you make your way through this blog post.
That’s enough preamble; let dive into the meat and potatoes of this guide:
The Straight Stitch
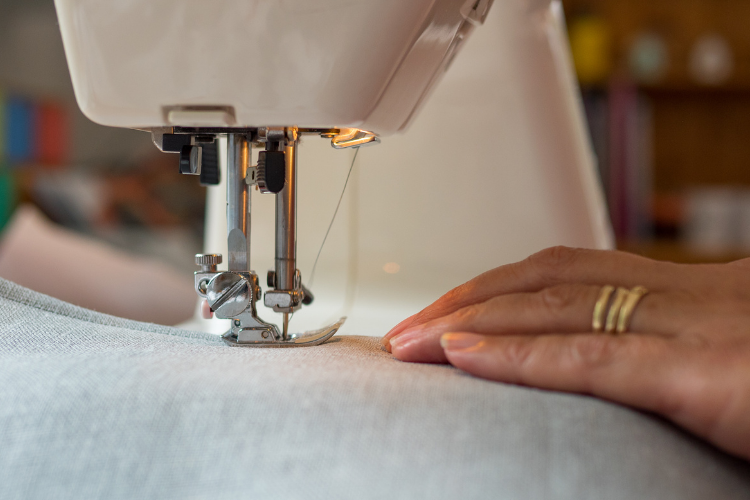
The straight stitch is generally under the first setting position on a sewing machine.
You can usually select this pattern by turning the pattern dial to the desired position on your machine. However, this may vary depending on your machine.
Despite its simplicity, a straight stitch is one of the strongest stitches you can find on a sewing machine. It sews the thread straight across the material.
There’s an upper and lower thread. These threads interweave through the material, creating a lock-like stitch that builds strength.
Uses
You can change the length of the straight stitch by using the stitch length dial. The higher the number on the dial, the longer the stitch – and vice versa.
The shorter the stitch, the tighter and closer the stitches appear. The minimum stitch length allows you to sew a lock stitch that doesn’t need a backstitch (we’ll discuss backstitching below). We use lock stitches for materials used for draping because a backstitch can affect how the fabric drapes.
Some machines have a specific lock stitch setting. This allows you to do a back and forward stitch simultaneously without going back and doing a backstitch over your straight stitch.
However, if you don’t have that setting, you’ll achieve the same effect by selecting the shortest straight stitch on your machine. You have to be careful when using this stitch.
Thanks to its tightness, it’s prone to knotting. As such, it’s good practice to only use a few of these stitches at a time, such as two to four stitches in one spot, then move the material forward to the next point manually. It’s also worth noting that shorter stitches are difficult to remove, so it is best to be sure before committing to making the stitch.
Longer straight stitches are looser and easier to remove than short straight stitches. The longest straight stitch is called the basting or tacking stitch. It’s intended to be effortless to remove and is usually used temporarily to join materials to provide a rough idea before more permanent stitches are sewn.
Similarly, it’s also used to hold difficult fabrics together while sewing, such as slippery or thick fabrics. When the basting stitch has served its purpose, it can be removed with a seam ripper.
Benefits of the Straight Stitch
- Versatility: The straight stitch can be used with most projects, such as draping, seams, zippers, and buttons.
- Visibility: It’s less visible than the zig-zag stitch
- Efficiency: It only uses two threads
- Stretch: It’s stretch-resistant.
The Zig-zag Stitch
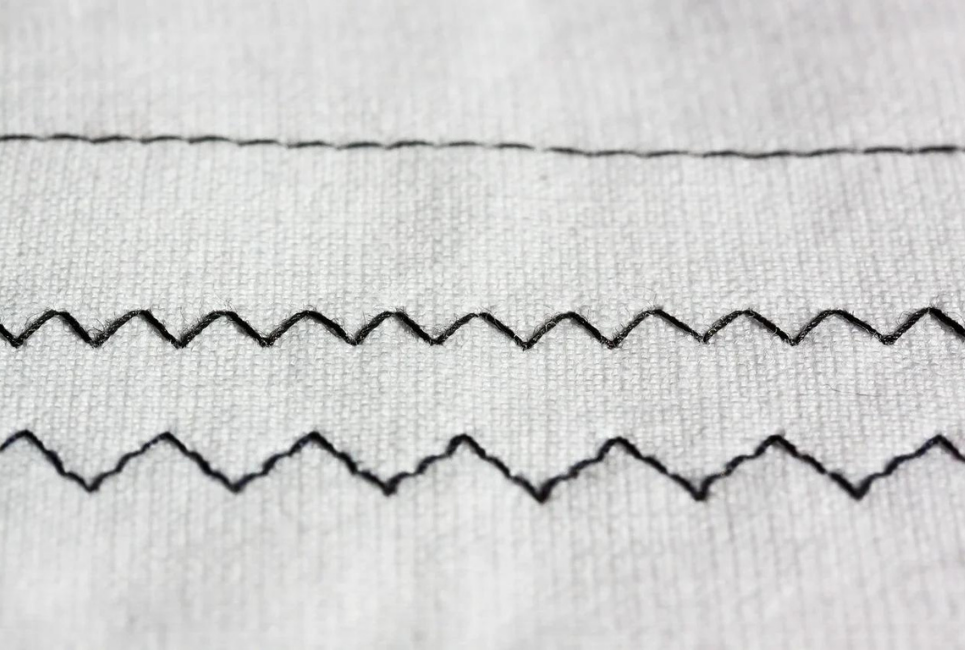
While the straight stitch is commonly believed to be the strongest stitch, research has shown that the zig-zag stitch is more resistant to stress. As such, the zig-zag stitch is one of the most durable stitch types.
The zig-zag stitch distributes the stitch’s strain more evenly across the fabric, allowing the seam to stretch with the movement of the material without puckering the stitch. It can also help catch frayed ends and provide a neat finish.
To use this stitch, adjust the pattern dial to the zig-zag position.
Use
To achieve different effects with a zig-zag stitch, you can adjust the length and the width of the stitch. When you change the width of a zig-zag stitch, you’ll see that it affects how the fabric lays. A narrower sitch will catch more fibers and thus give fibrous materials a seam with a cleaner finish. This is beneficial for stretchy or knitted fabrics. It also elongates with the fabric’s natural stretch.
Whereas a wider zig-zag is better for less stretchy materials or enjoining buttons.
When you adjust the length of the zig-zag stitch, it has a similar effect to the straight stitch. In fact, if you program the zig-zag to its maximum length, it may look similar to a straight stitch. Longer zigzag stitches will be looser. However, generally speaking, zig-zag stitches are much easier to remove than straight stitches, even at shorter lengths.
With the zig-zag stitch, you also have the option for a triple zig-zag or tricot stitch. The tricot stitch consists of multiple zig-zag stitches and is stronger than the regular zig-zag stitch. It also adds extra durability and stretchability to the stitch. It’s even stretchy enough for elastic materials. On your sewing machine dial, you can usually find the tricot stitch beside the regular zig-zag stitch.
Benefits of The Zig-zag Stitch
- Decorative: The zig-zag appearance is more visible than a straight stitch. However, it’s arguably more decorative.
- Removable: Zig-zag stitches are very easy to remove.
- Versatile: The sitch can be used on stretchy elastic, knitted, and rough seam edges.
- Durable: It bears stress well across the material to prevent puckering.
Overlocking/Serging
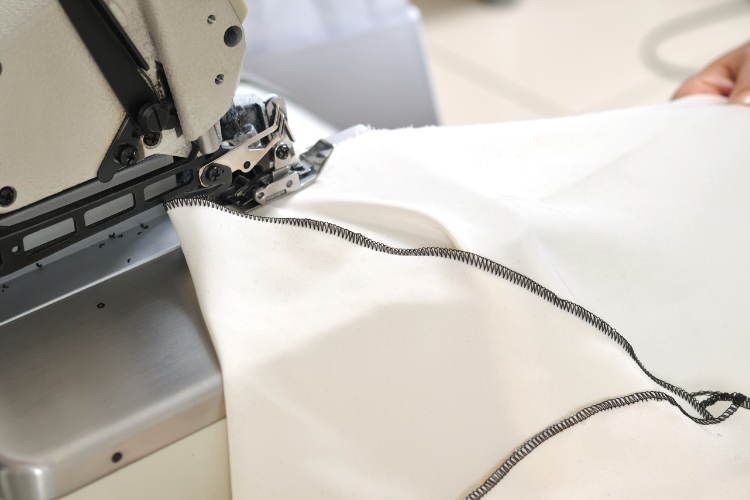
Overlocking, also known as serging, is a stitch knitted over the edge of two fabrics. It’s primarily used to strengthen seam edges. It typically uses two to eight threads interwoven together to lock in the raw edges of a seam.
Generally, overlocking is done with a serger or overlocking machine, specifically designed for this stitching technique. However, the same effect can still be achieved on a regular sewing machine.
Most modern machines now have an overlocking or overedge setting. You’ll also need to purchase an overlocking or overedging foot to use with your regular machine.
If you have an older sewing machine that doesn’t have an overlocking setting, simply use the zig-zag stitch in combination with an overlocking foot attachment.
Use
To overlock the edge of your fabric, choose from the overlocking settings available to you. Most machines usually have a couple of stitches to pick from.
Forward moving stitches are used for light to medium weight fabrics. Whereas backward moving stitches are better for heavier fabrics.
This stitch technique can also be used for hemming edges.
You can use overlocking to create professional finishes on the edge of your material. As overlocking uses a zig-zag pattern, it spreads tension similar to the zig-zag stitch, making it a good choice for handling stretchy materials.
Benefits of Overlocking
- Strength: Overlocking adds strength to your seam and hem edges.
- Versatile: Overlocking can be used with stretchy materials as the stitches elongate with the fabric.
- Professional: Serging gives edges a clean and more secure finish than the other stitches on our list.
Backstitch on a Sewing Machine
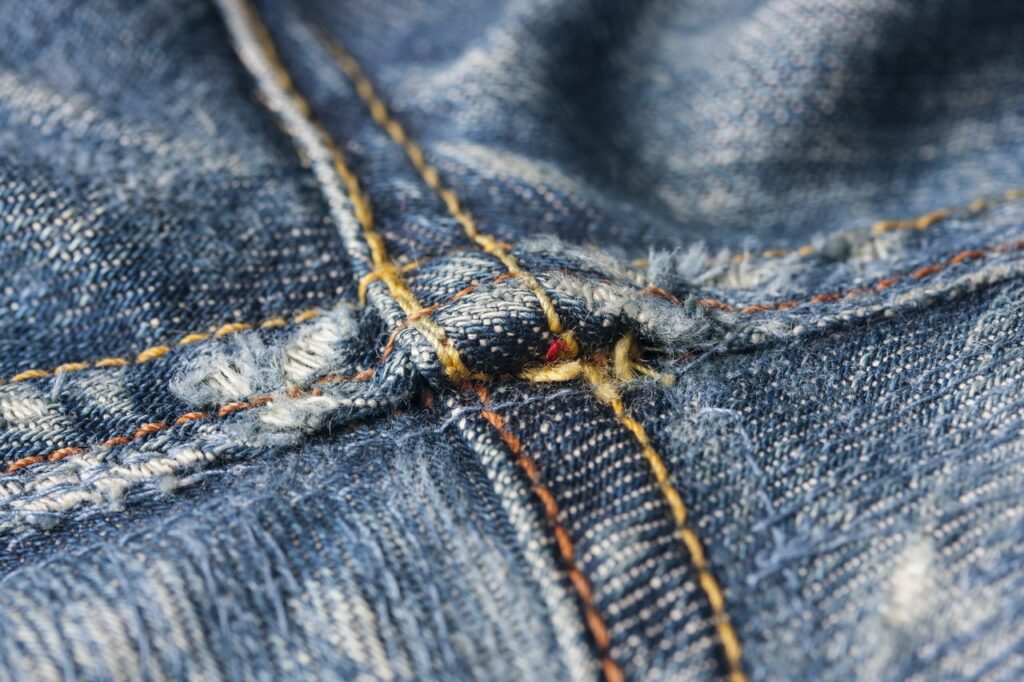
Backstitching is one of the strongest hand stitches. However, it can also be done on a machine to give stitches a durable and robust finish. Therefore, backstitching is more of a sewing technique than a machine setting.
A backstitch is only as strong and tight as the stitch’s beginning and end lock. This is where backstitching comes in useful. It’s achieved by reversing the sewing direction at the beginning and end of the stitch. When you’re a few stitches in, you pause the machine and turn, pull the reverse knob and go back to the beginning of the stitch. You may have to manually shift the material in the opposite direction with an older machine before sewing again.
Use
The purpose of backstitching is to lock your stitches in place. It’s generally good practice to use a backstitch for materials you expect to be under lots of stress or used regularly. This helps to ensure your seams don’t escape and that your fabric doesn’t unravel or lose shape.
It can be used in any application. However, if you’re sewing on a fine or delicate material, it will prominently show the thread. When you use it on draped cloth, it can also change the fabric’s draping. In this case, it may be better to use a lock stitch.
Benefits
- Strength: Backstitching reinforces the stitches you already have.
- Durability: This stitch will make your garment last longer
- Emphasis: The backstitch can emphasize a pattern in cross-stitching (a decorative stitch).
Product Recommendations
The strongest stitch types aside, the next step in ensuring a robust finish for your project is to use a strong thread, machine, and needle for the job.
Threads for Strong Stitches
One of the strongest threads you can use is nylon. This is because it has a high strength-to-weight ratio (also known as specific strength). This means a thin thread-like one used for traditional sewing has enough resistance against breakage.
In addition, as nylon is a synthetic thread, it benefits from longer durability and abrasion resistance, making it a good choice for sewing materials such as leather and denim.
That said, nylon isn’t as soft as cotton threads.
Below we’ve highlighted one of our favorite nylon threads:
Aussel Black Bonded Nylon Sewing Thread
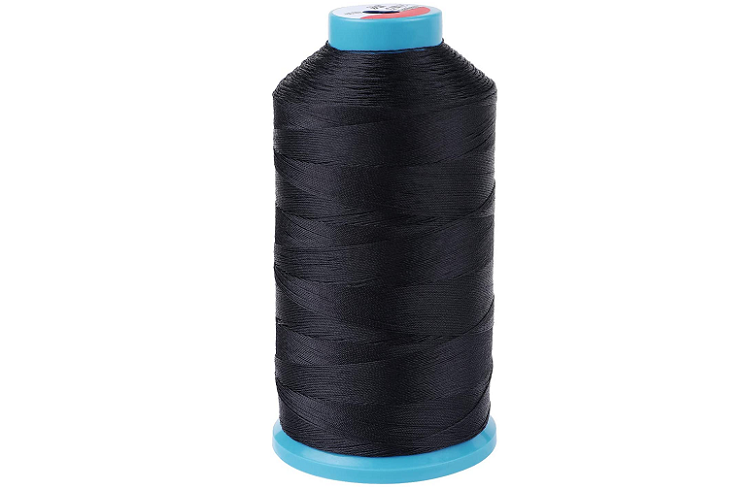
- Price: $11.11 for 1,500 yards per spool
- It comes in a variety of colors.
- Rating: A 4.6 out of 5-star rating on Amazon
- Used for the upholstery, outdoor products, drapery, beading, luggage, purses, wallets, shoes, leather, vinyl, canvas, awnings, tents, and more.
Machines for Strong Stitches
Singer machines are one of the oldest and most renowned heavy-duty sewing machines on the market. They’re considered all-rounders because they’re good for beginners and advanced sewers alike.
Singer Heavy Duty 4423 Sewing Machine
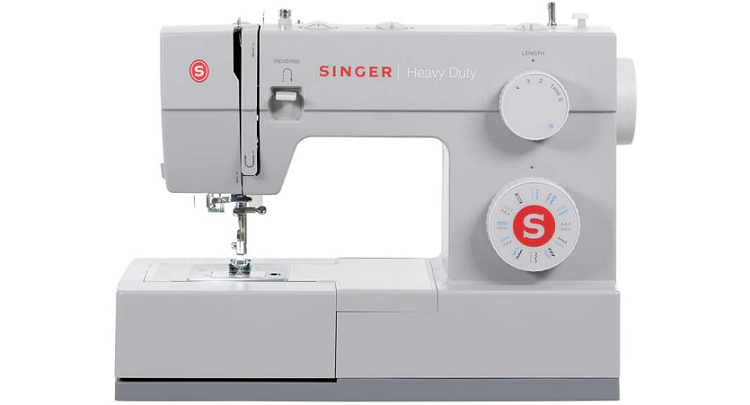
- Price: $347.07 for the machine
- It comes with 27 built-in stitches.
- Rating: 4.6 out of 5-star rating on Amazon
- The machine includes a variety of accessories: All-purpose foot, zipper foot, buttonhole foot, button sewing foot, seam ripper/lint brush, quilting guide, needles, bobbins, screwdriver, auxiliary spool pin, and spool pin felt. These are all conveniently located and stored in the accessory tray.
Needles for Heavy Materials
Singer Notions Universal Heavy-Duty Machine Needles
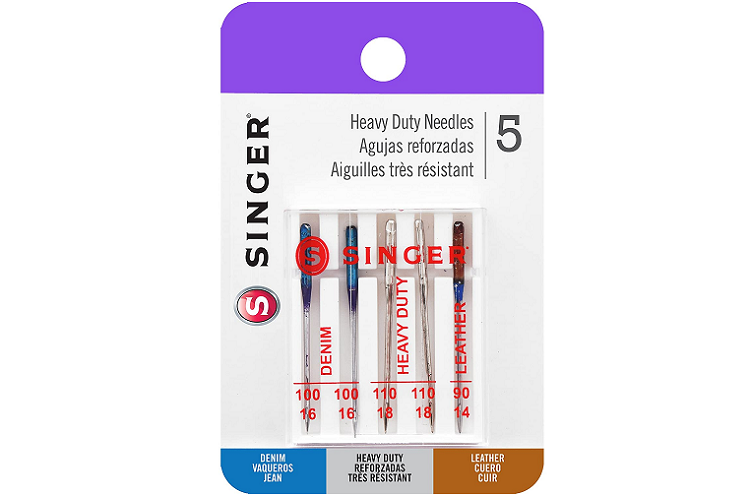
One of the main uses for employing stronger stitches is to reinforce stitches on heavy materials. These needles are particularly good for using with heavyweight materials such as denim, wool, corduroy, and canvas. They remain sharp and don’t break when piercing thick materials. However, they’re not the best for delicate or thin materials as they can leave holes.
- $9.93 for a pack of five
- 4.7 out of 5-star rating on Amazon
- Multicolored needles and variable size.
Overlocking Foot
SANWOOD Overlock Sewing Machine Foot Tool
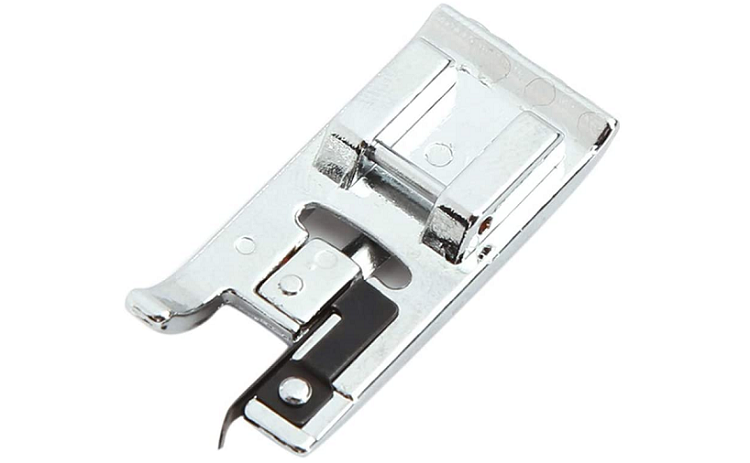
This easy-to-attach foot tool is a good choice if you want to create an overlocking stitch to adjoin hem and seam edges. It’s sold as a universal foot attachment that should work on most sewing machines, providing a cheap alternative to buying an overlocking machine.
- Price: $4.02 for a one-foot attachment
- Rating: 4.3 out of a 5-star rating on Amazon
- The metal foot fits most vertical bobbin sewing machines
FAQs
Last but not least, let’s answer some of the frequently asked questions we hear about the strongest sewing machine stitches:
Question: What Tension Should I Use?
Answer: Thread tension refers to the amount of thread passed through the material within a stitch. The more thread used, the looser the stitch will be and vice versa. The top thread and bottom thread are interwoven within a single stitch. So, you need to get the right tension balance between them. You can tweak the tension using the tension dial on your machine.
For thicker fabrics, the tension should be higher. This is because when they’re interwoven, more effort is needed to lift the bottom thread up to the top thread. Therefore, higher tension and longer stitches are advisable for thicker fabrics like canvas.
In such cases, it’s best to set the tension to five or above. A tension of four to five will support medium-weight fabrics like linen and denim. However, a lower tension is advisable for thinner fabrics like cotton – i.e., a tension below 4.
Question: What Settings Should I Use for Stretchy Material?
Answer: Stretchy materials such as elastic and lycra can be hard to sew. To get optimal results, you’ll need to use the right stitch type, tension, and stitch length. A tension of two to three is advisable. Set the pattern to zig-zag and put the width on a narrow setting. The stitch length should be equal to the width.
Top Tip: It’s worth doing some preliminary test runs to get the settings right for your material before starting the real piece.
Question: What Should You Do if You Forget to Backstitch?
Answer: This is a common problem for sewers. You’ve executed a great piece of work, but you’ve forgotten your backstitch; what should you do? While it’s tempting to leave out the backstitch, in the case of heavy material, in particular, the backstitch can be the difference between the product from quickly unraveling and a durable finish. However, if you’ve forgotten this step, there are a few ways to remedy the problem:
Handstich: Go back and stitch the backstitch by hand at the beginning and end of the stitch.
Glue: You can apply a drop or two of material glue at the beginning and end of your seam. Aim for where the threads cross paths.
Tie the ends: If you have long thread ends at either side of a stitch, you can tie the ends into a knot.
Are You Ready to Use The Strongest Stitches for Your Projects?
We hope this guide provided some insight into the strongest sewing stitches available for your project.
To give a quick overview:
- Straight stitches are the best all-rounder and can be used for most projects.
- Zig-zag stitches work best for adding durability to stretchy materials.
- Back stitching is used in tandem with other stitches to reinforce the opening and closing of your stitches.
- Overlocking is best used to secure and refine material edges.
For more information and guides on sewing, check out Craft and Stitch to get the latest on tools, materials, and sewing tutorials. Happy sewing!