
- Super Glue vs Epoxy - February 10, 2022
- How to Get Started with Stippling Art - January 18, 2022
- Brother PE770 Review and Guide - January 14, 2022
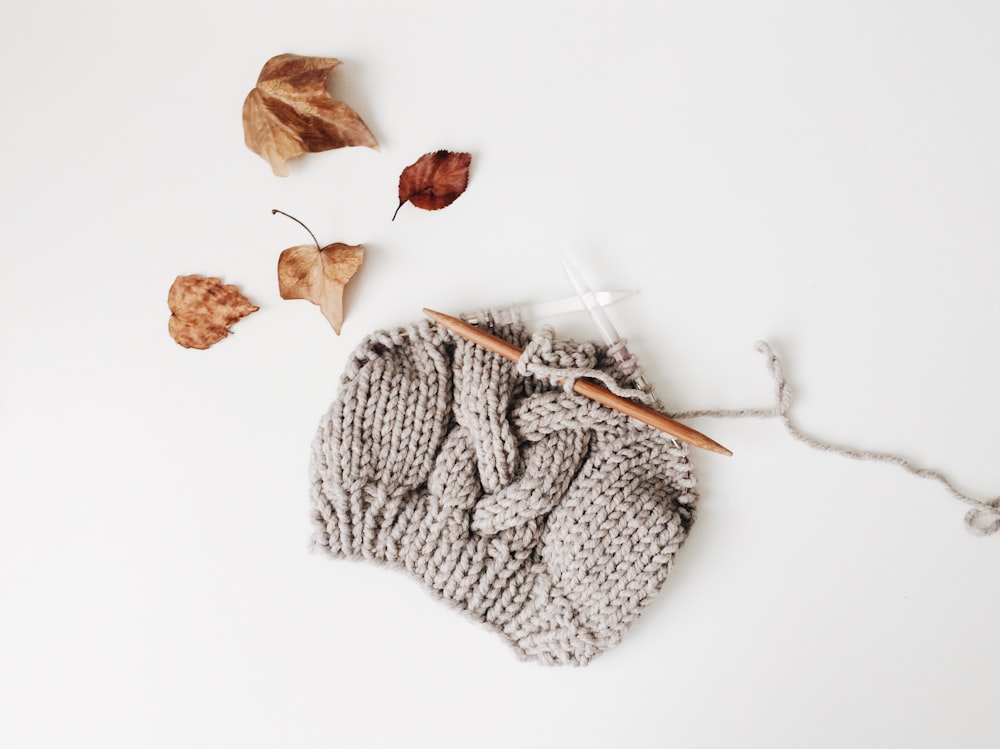
Crafters have been knitting woolen garments since medieval times. But, unfortunately, somewhere along the way, this traditional craft got clouded by its associations with elderly women, rocking chairs, and, generally speaking, all things ‘uncool’.
Now, Knitting is Back With a Vengeance.
From old-fashioned to fashion-forward, this craft has exploded in popularity with all generations, and English and continental knitting styles are leading the way.
If you’re new to the knitting game, these names might not mean anything to you yet. However, if you’re looking to get started, they’re two of the most important knitting techniques to learn.
So, what exactly are they? What can you make using them? And are they tough to pull off?
Needles at the ready, people: let’s take a look at everything you need to know about English and continental knitting…
English vs. Continental Knitting: Similarities and Differences
First things first, let’s explore the key similarities and differences between English and continental knitting. First up, their similarities:

English vs. Continental Knitting: Their Similarities
- Both methods use two needles.
- Both methods serve the same purpose (knit and purl stitches)
- The casting off process is the same for each method
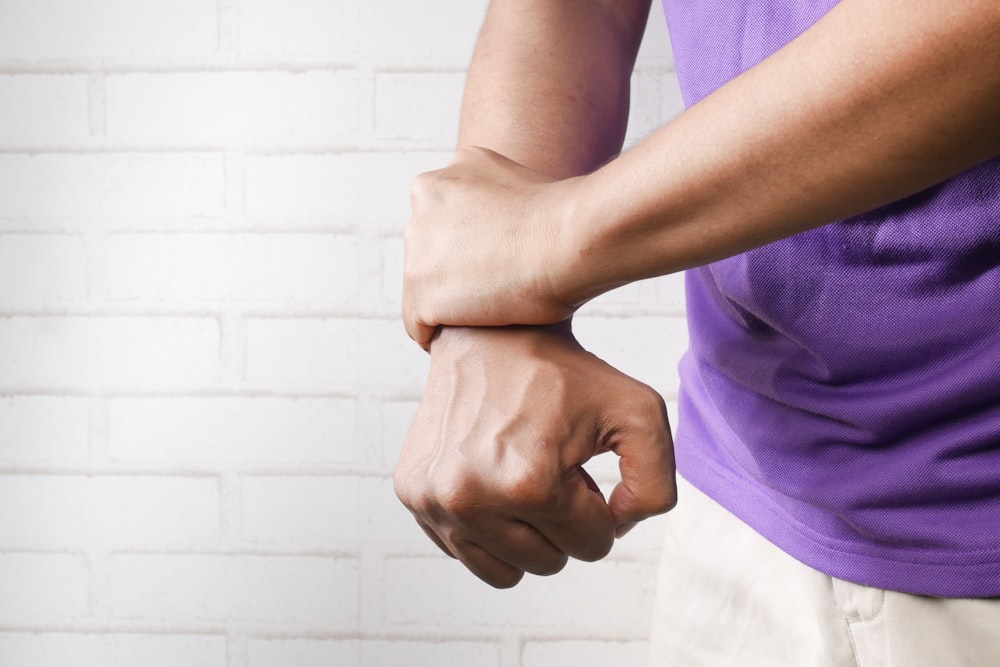
- The repetitive motions associated with both techniques can cause repetitive strain, especially if you’re using a harsher tension
- The quality of the finished product is the same for both methods
English vs. Continental Knitting: Their Differences
- English knitting uses the right hand, whereas continental knitting uses the left.
- When English knitting, the yarn is thrown when wrapping, whereas, with continental knitting, the yarn is picked.
- Knitting with the English method requires more movement with the right arm. Whereas with the continental method, you only move your left fingers and hand.
- The English method is considered easier for new knitters to learn than the continental.
- The continental method is considered faster by most knitters compared to the English method.
What’s English Knitting?

English knitting is sometimes known as American knitting or “throwing.” Aptly named, it’s the most popular method used amongst knitters in England and Europe.
For most stitches, the knitter uses their right hand to wrap the yarn anti-clockwise around the needle. That said, for some stitches, like the purl stitch, the yarn is moved in front of both needles. However, generally speaking, the former method applies.
What’s Continental Knitting?
Continental knitting, also known as German knitting or left-hand knitting, originated in Europe. It slowly spread through Germany and neighboring countries before falling out of fashion during WWII. Then, increasing in popularity again a decade or two later.
In contrast to English knitting, continental knitting requires holding the yarn in your left hand, and a more subtle movement is needed than throwing the wool over the needle to create a new stitch.
With the yarn in their left hand, the knitter will use their left index finger (and sometimes, other fingers) to help the needle pick up the yarn and create a new stitch. As such, the yarn, needle, and stitches are all held in the left hand.
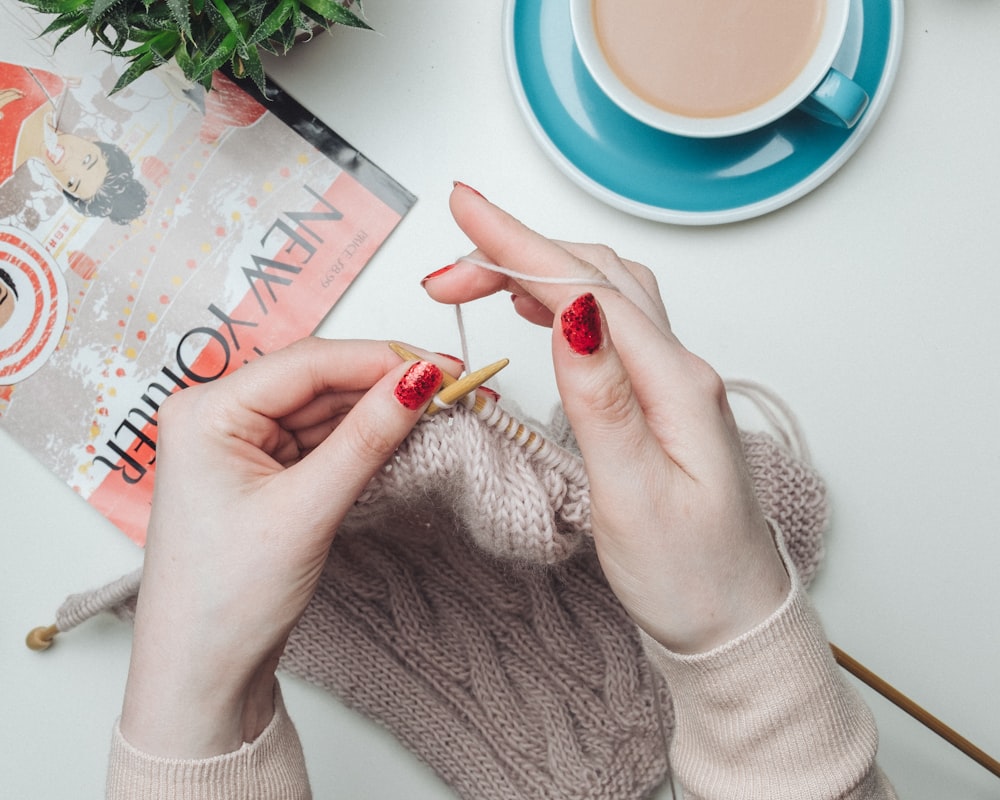
How to Do an English Knit
Firstly, ‘binding off’ or ‘casting off’ stitches with both methods is exactly the same. The only difference is that you’ll be using either the English or Continental method to knit or purl your stitches before pulling one stitch through the other.
That said, are you ready to learn the English knit technique? Let’s get started.
- To knit in the English style, you’ll need to hold the yarn in your right hand and hold the knitting needle with the cast-on stitches in your left (with the tip of the needle pointing to the right).
- Now your needles and yarn are ready, start by inserting the tip of the right-hand needle (which will be empty) into the first stitch on the left-hand needle. Do this from left to right and front to back, creating a T shape with the tips of the needles.
- Now, move the yarn to the front from the left side of the right-hand needle with your right hand.
- Then, move it over the right-hand needle to the right and down between the needles.
- Keep a slight tension on the wrapped yarn. Then, bring the tip of the right-hand needle (with the wrap of yarn) through the loop on the left-hand needle to the front.
- Then, slide the right-hand needle to the right until the old loop on the left-hand needle falls off.
- Now, you can repeat the first four steps until you’ve knitted all the stitches from your left-hand needle.
- To knit a new row, turn your creation around (switch hands so that the needle with the stitches is in your left hand) and knit the new row.
Are you having trouble visualizing the above steps? Check out this video for a complete rundown:
How to Do a Continental Knit
Now, let’s take a look at the technique used to pull off the continental knit:
- First, wind the yarn around your left pinkie finger, then over your left forefinger.
- Now, insert the right-hand needle through the stitch on the left-hand needle.
- Then, swivel the tip of the right-hand needle to the right and under the strand of yarn, scooping up the yarn from your left forefinger.
- Now, pull your yarn through the loop, slide the old loop off the left-hand needle, and let it drop. That’s it – you’ve done your stitch!
- To continue knitting more stitches, simply repeat the steps above.
Want to see the continental knit in action? Check out this video:
English vs. Continental Knitting: Which Technique is Faster?
The continental knit is considered faster when creating the knit stitch; however, if you’re opting for the purl stitch, it’s likely to be a little slower. Some knitters consider English knitting a slightly slower method because the knitter needs to release the right-hand needle to wrap the yarn around. This motion can add more time to each stitch, slowing down the whole process.
That said, continental knitting requires smaller arm and hand movements, making it quicker for knitters suffering from repetitive stress issues.
However, English knitting is much faster if you need to use chunky yarn for your project, as the more subtle, constricted movements of the continental stitch make crafting with larger yarns much more difficult.
English vs. Continental Knitting: What Can You Create?
You can use English and continental knitting to tackle similar projects. However, as we just mentioned, English knitting tends to be better if you’re using chunkier yark to create things like sweaters, thick socks, blankets, rugs, etc.
That said, the most common creations you can produce using both knitting styles include:
- Baby boots
- Stuffed animals
- Jumpers
- Socks
- Scarves
- Hats
- Blankets
- Cushion covers
- Gloves
English and Continental: Should You Learn Both?
Now you know more about English and continental knitting, should you learn both methods, or just one?

Well, English knitting tends to be the primary technique taught in England and most English-speaking countries, so if you live in these regions, this is the style you’re most likely to be exposed to. In contrast, continental knitting tends to be taught in northern or eastern Europe.
But don’t let these demographics push you into a corner, though. There’s no reason why you can’t learn both, and mastering both techniques can actually help you create a more varied range of projects.
For example, colorwork items can be knitted using either method and using a combination can help you keep working yarns far apart from each other, reducing the likelihood of tangling them. In short, using the two techniques in tandem can help you handle more challenging projects with ease.
Adopting both techniques can also help to relieve pain – especially if you’re working on more extensive projects. If you’re a veteran knitter, you’ll be all too familiar with the aches that come from those inevitable hand cramps and the repetitive motions that trigger wrist discomfort.
Unfortunately, cramps are near-on inevitable with either method: the English wrapping style can cause right arm cramps, and the Continental method can make your left hand seize up. However, where it’s possible to use both together, you can distribute the tension more equally between each arm, resulting in less pain.
What Should You Consider Before Picking a Method?
If you want to pick one method over the other, there are a few things you need to consider. These are:
Pain
Both methods require different hand-to-wrist actions that can trigger pain during long knitting sessions. So, if you have joint issues in your left arm or hand, consider the extra strain the continental method may cause. Alternatively, English knitting may not be suitable for longer projects if you have problems with your right arm or hand. If you experience issues with both sides, though, don’t be deterred! As we explained above, using both methods in tandem can decrease the tension on your joints, making it easier to craft for long periods.
Changing Tension to Get a Gauge
The tension in the yarn differs for both methods. When you knit, you’ll need to get the correct gauge (in other words, you’ll need to accurately measure how big your stitches are and the number of stitches and rows you have per inch of your fabric).
Several factors affect the gauge, including yarn tension, the needles you’re using, and the knitting method you’re using.
If your tension is affecting your gauge and you’re struggling to get the right measurements, the English knitting style may be the best method for you. Although the tension or strain on the yarn can differ for each knitter, the continental approach tends to produce a much harsher tension that can make getting the correct gauge more complex.
English and Continental Knitting: What’s the Best Way to Learn?
Knitting is all about muscle memory. Once you’ve got it, the process gets easier with every stitch. However, getting to that point can be challenging for beginners – so, what’s the best way to kick off your journey?
Watch Videos
Head on over to Youtube and watch as many videos as you can of people using these methods in action. There are plenty of videos out there for complete beginners that break everything down step-by-step to help you learn at your own pace.
Start With Swatches
Say, for example, you’re planning to kickstart your knitting journey by making a jumper from scratch. If you’re a complete beginner, you’ll likely emerge from the process disheartened. Instead, consider starting with basic swatches like squares, rectangles, or circles to help you practice the techniques without the stress of completing a project. Once you’ve mastered your mini swatches, why not work up to larger projects like hats or scarves?
Don’t Underestimate The Power of a Good Book!
Books aren’t to everyone’s taste, but seriously, don’t underestimate their power! If you’re the type of learner that can get stuck into a good book, take a browse online, and you’ll find hundreds of options. Many of these come with tons of informative pictures and guides to help get you started with the basics. Then, when you’re ready, some books even include step-by-step guides to help with more complicated projects!
Materials You’ll Need to Get Started
Hopefully, by this point in this comparison article, you’ll have a better idea of whether to try English or Continental knitting (or both!). But, what exactly do you need to get started? Yes, yarn and needles are a must, but there are also a few other things you should have to hand.
These are:
- Small scissors to snip off any loose ends on your creations
- A project bag to store any works in progress
- Books with information on craft ideas and how-to guides to inform you on your journey
- Needles (medium sizes with a width of 4 to 5mm are best for beginners. You should also stick to straight needles rather than double point or circular needles when you’re getting started)
- Crochet hook (great for correcting any snagged yarn!)
- A knitting journal (this isn’t essential but it’s handy for helping keep track of all those projects you’ll be doing!)
FAQ’s
Last but not least, let’s round off this review by answering some of the most frequently asked questions we hear about English and continental knitting:
Question: Can I do continental/left-hand knitting if I’m right-handed?
Answer: Yes! These techniques don’t rely on your dominant hand, so you’re free to use whichever method you wish.
Question: Is English knitting easier than Continental knitting?
Answer: With practice, both methods are considered relatively easy. However, factors like joint pain can influence which is best for you – as such, it mostly comes down to a matter of personal preference.
Question: Which method requires fewer hand movements?
Answer: Continental knitting requires fewer hand movements than English knitting.
Question: Are there other knitting styles I can try?
Answer: Absolutely. Many other knitting styles are available, including the Portuguese method, level knitting, shetland knitting, combination knitting, and more.
English vs. Continental Knitting: Our Final Thoughts
With knitting, it’s the little things that matter: from which hand you hold the yarn in, to the tension you apply to the wool, to where your yarn comes from – it all adds up! But, when it comes to English and Continental knitting hopefully, you’ve picked the right one for you (or you’ve settled on a combination of both!). Either way, we hope you’re ready to learn the joy of these two techniques and craft some unique projects using your new skills. Enjoy!
Learn about more crafting techniques with the guides below: