
- Super Glue vs Epoxy - February 10, 2022
- How to Get Started with Stippling Art - January 18, 2022
- Brother PE770 Review and Guide - January 14, 2022
So, you want to jazz up your knits with a bit of cable detail but don’t have a cable needle? Or, are you a student looking for a cheaper alternative to create your knits? Or maybe the thought of adding another instrument to your knitting arsenal leaves you all fingers and thumbs?
Whatever your situation, not to worry, you’ve come to the right place! Here we’re going to talk you through how to knit without a cable needle!
There’s lots to cover, so let’s get to it!
4 Cheap Alternatives to Cable Needles
There’s a good chance you’ll already have these ‘alternatives’ lying around your house!
To create a cable within your knitwork, all you need is something to separate your cable stitches from your regular stitches.
Here are some creative examples to get you going!
1. Pencils

We all have a secret stash somewhere, so put them to good use! Pencils are especially good if you’re creating a chunky knit, although be careful; you don’t want to leave any smudges on your newly knitted creation!
2. Bobby Pins
Most of us gals (and guys too!) own a multitude of fiddly bobby pins that don’t quite work. So, give them a new lease of life by recycling them to enhance your latest knotted design!
3. Paper Clips

Paper clips are a must-have for any avid DIY-er; they come in handy for all kinds of projects – cable knitting included. Their flexibility allows you to choose your type of “needle.” Whether you prefer a hook or a double-ended needle, the paper-clip is your friend! Just bend and shape!
4. Toothpicks/Cocktail Sticks
Head to the kitchen drawer and see if you have any lying around…there’s a good chance you do. If not, they’re equally cheap to pick up at the store. Of course, it goes without saying…use clean toothpicks for your knits!
5 Alternatives From Your Craft Box
Do you want to try cable knitting but don’t want to invest in yet another crafting instrument? If you can relate, check out your craft box and see what you’ve already got! Here are five cable needle alternatives to get going with…
1. Removable Markers
The God-send for all knitters everywhere! Whether you usually use them to count out your stitches or to mark a dropped stitch you want to fix later, these gems are great for separating your cable stitches and can be reused over and over again!
2. Tapestry Needles
Are you a keen tapestry artist? Or, did you once pick up a set of tapestry needles in an attempt to kickstart a new hobby? Either way, these make an excellent cable needle alternative – don’t you just love it when you can double up the function of a needle?
3. Double Pointed Needles
Do you own a typical double-pointed needle? While these are very capable of doing the job required, their size can be cumbersome and tricky to control. Ideally, a sock-length double-pointed needle would be more appropriate, but either will do the trick!
4. Stitch Holders
If you’ve got some stitch holders lying about, grab them. When they’re not being used to free the needles from your knits, they’re fantastic for cable work!
5. Crochet Hooks
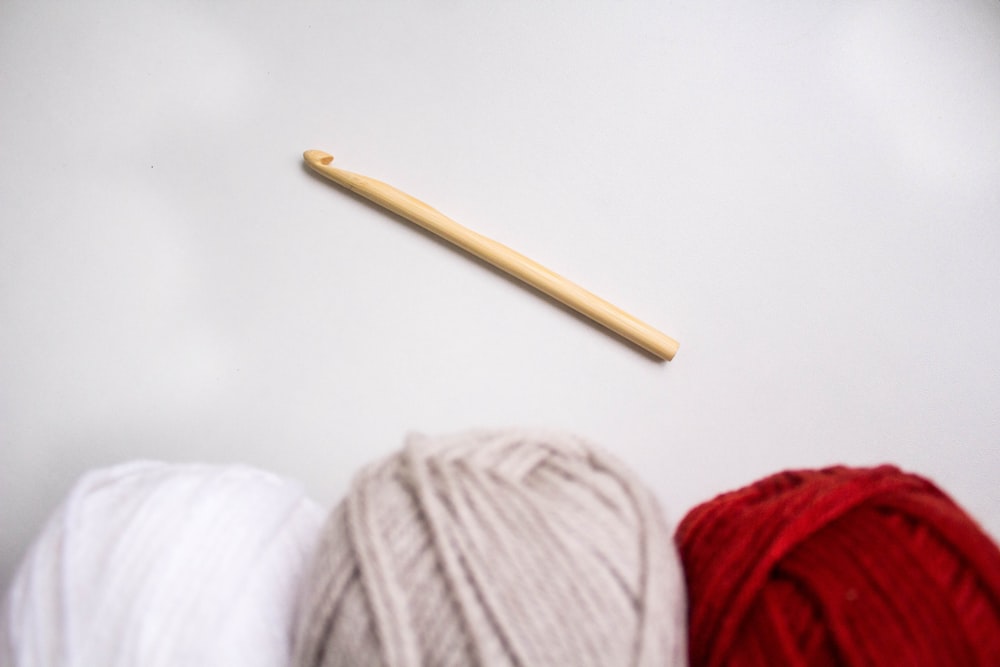
For the uninitiated, these hooks are light and easy to maneuver, making them ideal for cable work. Just be sure to transfer your stitches back onto your knitting needle rather than knit with the crochet. The wool can get caught on the hook and will leave you in a scrambled mess!
Fancy Going Solo?
If you fancy cable knitting au naturale, then check out these three techniques:
1. The Pinch and Slip
If you’re fed up with clumsy needles getting in the way, try the ‘pinch and slip’ method. Rather than slipping the stitches onto a needle, let them loose and then use your thumb and forefinger to pinch them tight to prevent them from unraveling!
2. No Pinch
Heavy or sticky yarn like wool can hold its shape, so you shouldn’t need anything to collect the loose stitches. So lay your work flat and continue to knit as though you’re using a needle. It is that simple!
3. The Knit and Twist
Twisting a stitch is something we ‘normally’ try to avoid. However, you may be surprised to learn that even a seemingly mistaken twist has its benefits! It requires swapping the stitches around while they’re still on your knitting needle.
Confused? Let us explain.
Leave the stitches you would usually move to a cable and either work the next stitches around your knit’s front or back (depending on the direction of your twist). Reach back again and knit the first two stitches as normal. When you remove the cable stitches off the needle, they should all come together as a normal cable.
Rinse, and repeat. Et voila! You have created a twisted cable without a needle!
And FINALLY!
Need a refresher on how to cable knit?
Here’s a Step-by-Step Cable Knitting Tutorial with (and Without) a Cable Needle
(N.B – for this tutorial, we’ll use both methods to demonstrate the ease of knitting a cable without using a cable needle.)
With a Cable Needle
1. Cast on 18 stitches onto your left needle.
2. Now, knit four rows in the following sequences.
- Row 1: purl six stitches, knit six stitches, purl six stitches
- Row 2: knit six stitches, purl six stitches, knit six stitches.
- Row 3: purl six stitches, knit six stitches, purl six stitches
- Row 4: knit six stitches, purl six stitches, knit six stitches.
Make sure that when you start a new line, your stitches are always on your left needle.
You’re now ready to start cabling!
3. Purl your first six stitches (ensuring they’re nice and tight)
4. Drop the next three stitches onto your cable needle
5. Put your cable needle either in front of or behind your main work.
N.B. – Cables are created by adding extra stitches on top of the main work. These then twist around each other, making your design!
Pro Tip: Want your cable to twist in a particular direction? Leave the cable needle in front (front cable) to twist left and behind (back cable) to twist right! It’s that simple!
6. Stitching the cable: Knit three stitches off your main needle and leave them on the cable needle.
7. Stitching on the cable needle: Stitch the next three on the cable needle (don’t pull too tight as this can lead to uneven gaps in your knitwear!)
8. Release the cable needle: Purl the next three onto your knitting needle and turn your work over. Ensure your work is once again in your left hand.
9. Start your ‘working rows’ with the following pattern (these will produce the twisting part of the cable):
- Row 1: knit six stitches, purl six stitches, knit six stitches.
- Row 2: purl six stitches, knit six stitches, purl six stitches
- Row 3: knit six stitches, purl six stitches, knit six stitches.
10. Repeat one cable row: Knit three stitches on, three stitches on cable needle, purl three on your knitting needle, and turn.
11. Repeat three ‘working rows’ and one cable row. Turn. Repeat.
That’s just a quick tutorial, but you get the idea! Now that you’ve familiarized yourself with the process as a whole, here it is again but WITHOUT a cable needle. Now, a lot of this is going to sound very similar … but keep going! There are some significant differences that you’ll want to take note of!
Without a Cable Needle
For front crossing cable (left twist):
1. Cast on 18 stitches onto your left needle.
2. Slip your right needle behind the stitches on the left needle. Only include the stitches that will form the twist in the cable. Make sure to work from right to left.
3. Let all the stitches on the right needle drop. Let the loose stitches move to the front. For ease of mind, you can pinch these closed to ensure they don’t loosen.
4. Collect the loose stitches. Use your left needle to pick them up from left to right.
5. Transfer the stitches back to the left needle. Great! Now you have rearranged the order, you can start to knit your stitches as before!
6. Stitch a cable row. Knit or purl straight across the rearranged stitches.
7. Knit one row of ‘working rows.’ Here’s a reminder of what it should look like.
- Row 1: knit six stitches, purl six stitches, knit six stitches.
- Row 2: purl six stitches, knit six stitches, purl six stitches
- Row 3: knit six stitches, purl six stitches, knit six stitches.
8. Turn over your work and repeat!

For backcrossing cable (right twist):
1. Cast on 18 stitches onto your left needle.
2. Slip your right needle in front of the stitches on the left needle. Only include the stitches that will form the twist in the cable. Make sure to work from right to left.
3. Let all the stitches on the left needle drop. Let the loose stitches move to the front. For ease of mind, you can pinch these closed to ensure they don’t loosen.
4. Collect the loose stitches. Use your left needle to pick them up from left to right.
5. Transfer the stitches back to the left needle. Great! Now you’ve rearranged the order, you can start to knit your stitches as before!
6. Stitch a cable row. Knit or purl straight across the rearranged stitches.
7. Knit one row of ‘working rows.’ Here’s a reminder of what it should look like:
- Row 1: knit six stitches, purl six stitches, knit six stitches.
- Row 2: purl six stitches, knit six stitches, purl six stitches
- Row 3: knit six stitches, purl six stitches, knit six stitches.
Pro Tip: When you’re first starting out, it’s advised to begin with a stickier yarn, such as wool, as this prevents your stitches from moving once you’ve made them.
FAQs
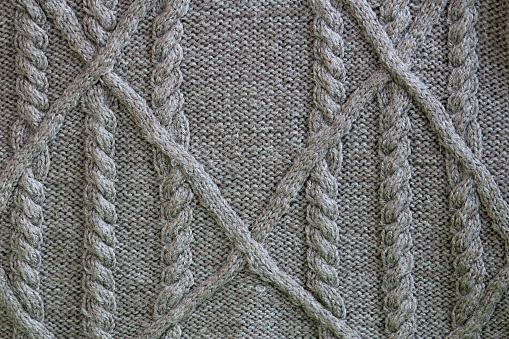
Question: What’s cable knitting?
Answer: Cabling is a knitting technique that creates a rope-like pattern on the surface of your knit. It can be crafted with and without an extra cable needle and is developed by changing the sequence in which you knit your stitches.
Question: How many types of knitting needles are there?
Answer: There are four main needles used for knitting, each with a different function to create different designs.
• The straight needle – Used for smaller knits that you keep flat.
• The circular needle – For larger projects like jumpers or hats. This enables you to keep your work on the needle at all times.
• Double-pointed needles – These allow for small and intricate knits such as sock designs.
• Cable needles – These hold the stitches away from the main work to allow you to reorder your stitches and create a cable design.
Question: What’s the best cast on technique?
Answer: Although some projects require a specific casting on technique, usually, it’s best to opt for whichever method you find easiest. But, here are a couple of techniques to help get you started:
• The Wrap Cast On – This is great for beginners as it’s easy to execute, although it can be quite fiddly to keep the wool’s tension.
• Knit Cast On – It’s as easy as it sounds. Just start knitting your stitches straight away! This technique leaves the stitches stretchy and adaptable.
Question: Does the cable needle or alternative need to be a particular size?
Answer: As written in the article, you can use things as small as paperclips to separate your stitches. Avoid using larger objects as they can make your stitches stretch and leave holes in your knitting.
Question: Help! I keep getting holes and loose stitches at the base of my cable?
Sometimes no matter how tight we pull the yarn, we still have gaping holes in our cables. These are quite often unavoidable and just part of the process of stitching across the work. But don’t worry, they shouldn’t be noticeable at the end when everything is blocked in!
Are You Ready to Start Knitting Without a Cable Needle?
So there you have it, a complete step-by-step guide to cable knitting without a cable needle! We hope this was useful and that you have fun making your new cable-design knitwear.
Let us know in the comments box below how you get on; we’d love to hear from you!