
- Super Glue vs Epoxy - February 10, 2022
- How to Get Started with Stippling Art - January 18, 2022
- Brother PE770 Review and Guide - January 14, 2022
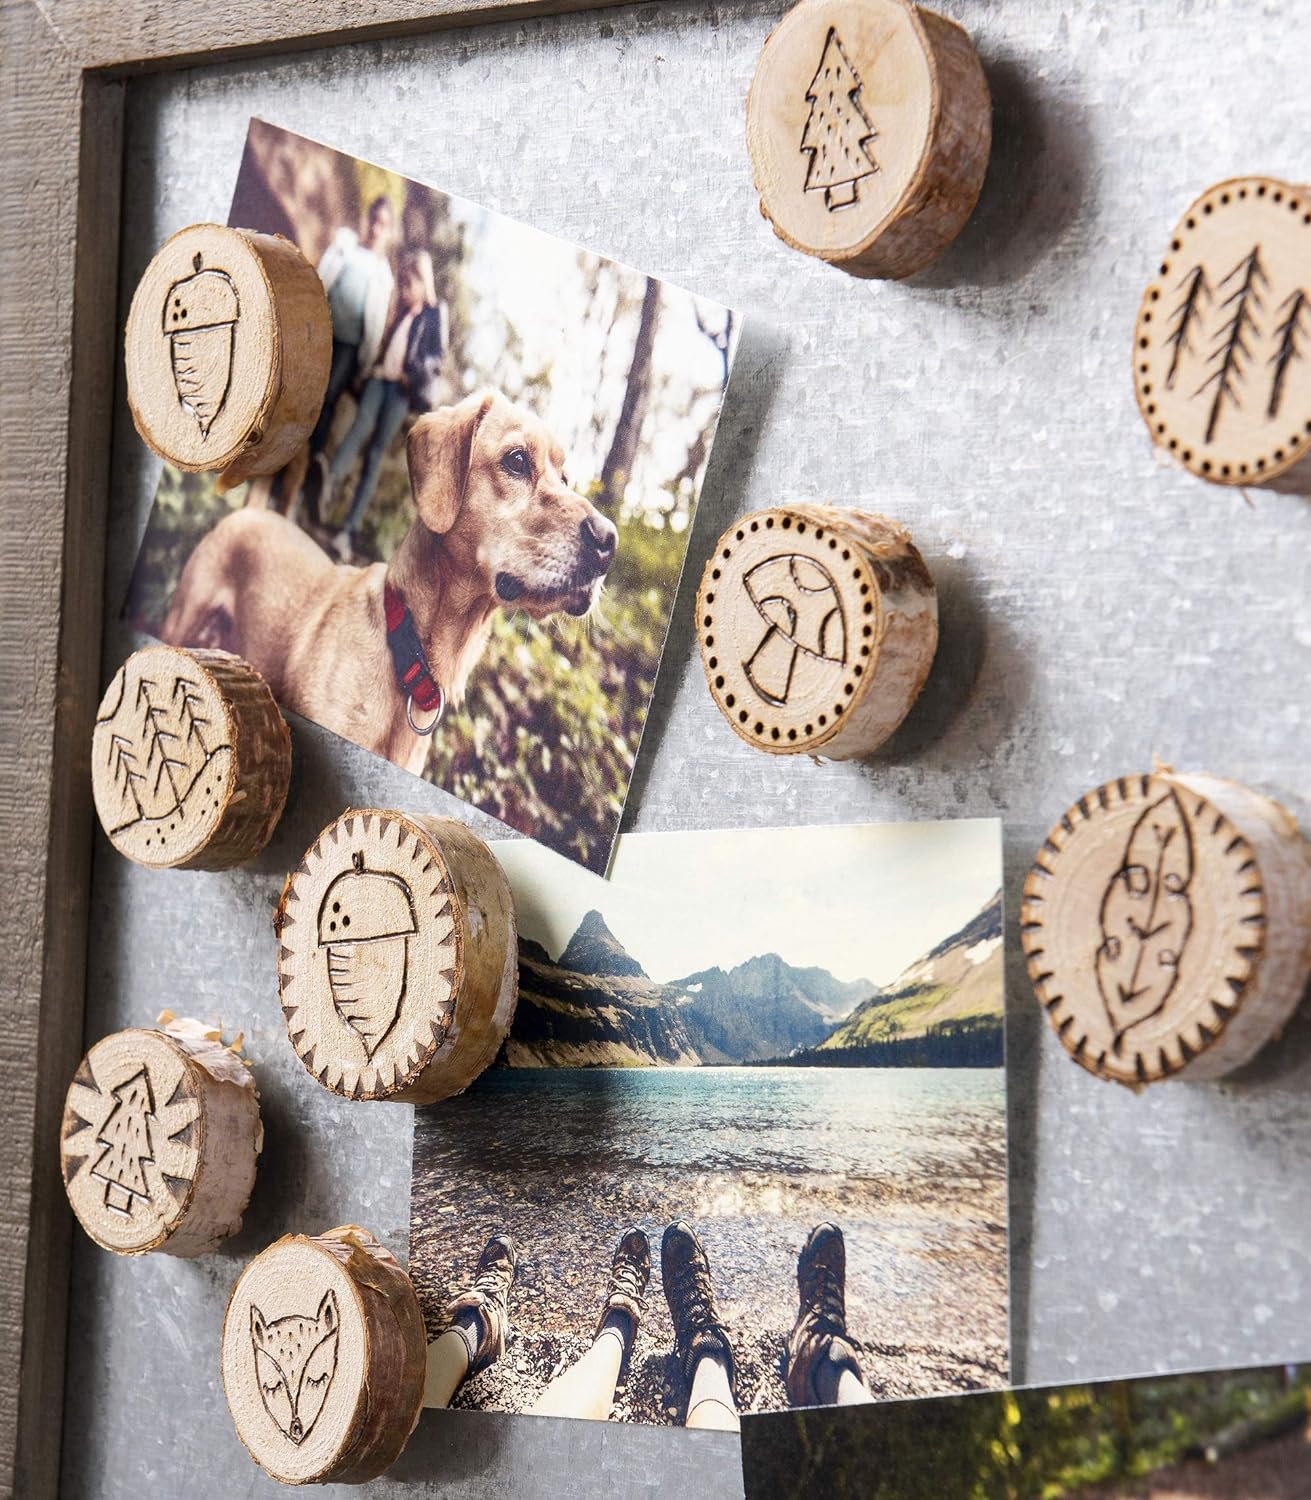
Woodburning, or pyrography, has become increasingly popular among artists wishing to take their creativity to the next level.
It’s not hard to see why it’s taken the art world by storm:
Wood burning forms a dimensional effect to your masterpiece, allowing the artist to develop exceptional detail and depth while creating a pleasing aestheticism for the viewer.
That said, wood-burning requires specialist equipment to ensure optimum results…
So, What’s a Wood-burning Tool?
In a nutshell, wood-burning tools are pens with a heating element to them. They’re designed to scorch the surface of the wood to produce a scarring/burned effect.
However, there are lots of different types of wood-burning tools, and the one you choose will most likely come down to budget and personal preference.
But, where do you start if you’re new to pyrography?
First things first, there are two main types of wood burner pens available:
- Solid-point burners
- Wire-nib burners
Both have pros and cons and should enable you to create the designs and compositions you desire, but what’s the difference?
Solid-point Wood-burning Tools
Like soldering irons, solid-point wood-burning tools come with various interchangeable brass tips that you can switch between burning sessions.
Due to the low conductivity of the brass tip, they take a while to heat up and cool down, which can slow down the progress of your work. However, they hold their temperature well, making them easy to use and perfect for beginner craft burners.
Wire-nib Wood-burning Tools
Wire-nib tools are a go-to for professional crafters. The thinner wire nib allows for heightened detail, better enabling the artist to create intricate patterns and designs. Not to mention, the fluctuation of heat allows for greater depth of design and layering. More particularly, it heightens the contrast between your piece’s focus and the background.
Unlike brass nibbed pens, wire nibs heat and cool much quicker, empowering you to get started swiftly. It also makes changing nibs quicker depending on your burning phase.
However, this does mean that regulating the pen’s temperature can take some getting used to.
What to Look for When Buying a Wood-burning Tool
So now you know the two main kinds of wood-burning pens out there; what should you be looking for?
This next section details a few things to look out for to help ensure you purchase the best wood-burning tool for your crafting needs:
Wood Type

The type of wood you’ll use will determine which pen burner is the most suitable for your project. Unsurprisingly, different wood species produce different results. As such, procuring wood with optimum texture and grain is essential for ensuring a high-quality end result.
That said, if you’re using a wood-burning pen for pyrography, smooth wood with compact pores will produce higher-quality work. This is because softwoods such as birch, beechwood, and pine burn much easier than hardwoods such as oak or walnut. For these kinds of woods, you can use either a solid or wire nib.
In contrast, hardwoods produce a grainier, rougher quality of work. As such, they benefit from a wire-nib burner as you have complete temperature control to meet the exact requirements for the quality and specifications of the wood.
Top Tip: For a more profound contrast between the wood and the burn marks, consider staining the wood.
Kits
Attempting any new craft can be daunting at first. So, one of the best things to do is purchase a kit to ensure you have everything you need to hit the ground running.
This is why it’s worth seeing whether the wood burner you like the look comes as a kit.
Of course, all kits vary. However, most include accessories like:
- Pliers for changing hot nibs
- Sponges for cleaning
- A tool stand
- Carbon paper for easy design transfers
- Stencils to jump-start your creativity
There are a plethora of nibs available for both solid-point and wire-nib wood-burning tools, which allow for greater dexterity for specific pyrography tasks.
General-purpose Nibs
Most wood-burning tools come with an assortment of general-purpose nibs that cover most areas – for instance, outlining, shading, limited detailing, and lettering.
However, suppose you need a smoother finish. In that case, a rounded flow nib will enable you to move the pen fluidly across the wood with less resistance than a general-purpose nib.
As such, it’s worth considering that all of these nibs either come with or are available for your prospective wood-burning tool.
Calligraphy Nibs
Calligraphy nibs are essential for cursive lettering. They allow for increased dexterity which enables you to create intricate detailing for the defined script. So again, if this would be useful to your projects, make sure a calligraphy nib is available.
Power and Temperature

When considering any wood-burning tool, it’s essential to note how many watts the tool can produce. This is known as the wattage rating. In laypersons terms, this relates to the temperature the nib reaches during use. Therefore, the higher the wattage, the higher the temperature the pen will reach.
Professional tools can reach temperatures surpassing 900 degrees. However, this isn’t necessary for most wood projects. Instead, most wood-burning tools have a power rating of 30-60W, which is more than adequate for the majority of wood-burning designs.
As we’ve already hinted at, the most valuable tools come with an adjustable temperature gauge to enable you to use the optimum temperature for each of your different pyrography needs.
Unless you’re aspiring to use hard, dense woods requiring the highest wattage available, a lower wattage is ideal for softer woods and other materials such as leather.
Generally, wood-burner tools have an optimum temperature ranging between 500-900 degrees. However, the wattage to temperature conversion isn’t always stipulated, so we advise selecting your tool(s) according to power rating, e.g., 15W, 30W, 60W, etc.
Warm-up and Cool-down period
As mentioned before, solid-nib tools take longer to heat up and cool down. This is because brass tips consist of a higher thermal mass than wire tips, with brass nibs taking roughly five to eight minutes to reach optimum temperature. In contrast, wire nibs are ready in under a minute because wire nibs can pass electrical charges much quicker than brass. Thus, for ease and efficiency, wire nibs come up trumps.
Comfort
When starting a new craft, the excitement can be all-consuming, and before we know it, we’ve spent hours practicing. Therefore, comfort is essential – especially if you’re looking at lengthy burning sessions.
Wood-burning tools come in various shapes and sizes, with different elements designed purely with the user’s comfort in mind. A larger tool with a thicker rubber grip is ideal for beginners, as this goes a long way to ensure comfort and a steady hand. In addition, these are designed to prevent cramping when used for long periods, making them perfect for anyone training up.
In contrast, for masters of wood-burning art, a thinner tool allows for increased fluidity of movement. This should make it easier to bring your design to life.
Top 5 Best Tools for The Job at Hand
Now you know what to look for when picking a wood-burning tool; let’s take a look at some of the best wood-burners on the market.
Below we’ve highlighted a range of tools ranked for their performance, quality, and bang for their buck:
For Newbies
First off, here are our top picks for those new to wood burning:
Wall Lenk Woodworker 10-in-1

This 10-in-1 wood-burning tool kit is ideal for kick-starting your pyrography and wood-burning passions.
This kit includes seven solid tips for burning wood, two for slicing and fusing, and one for soldering. This wood-burner from Wall Lenk has a power rating of 20W with an optimum temperature of 1050 ℉.
This tool is perfect for beginners and, at a reasonable $47.99, it’s an absolute bargain!
Dremel 2000 Versa Tip Butane Torch
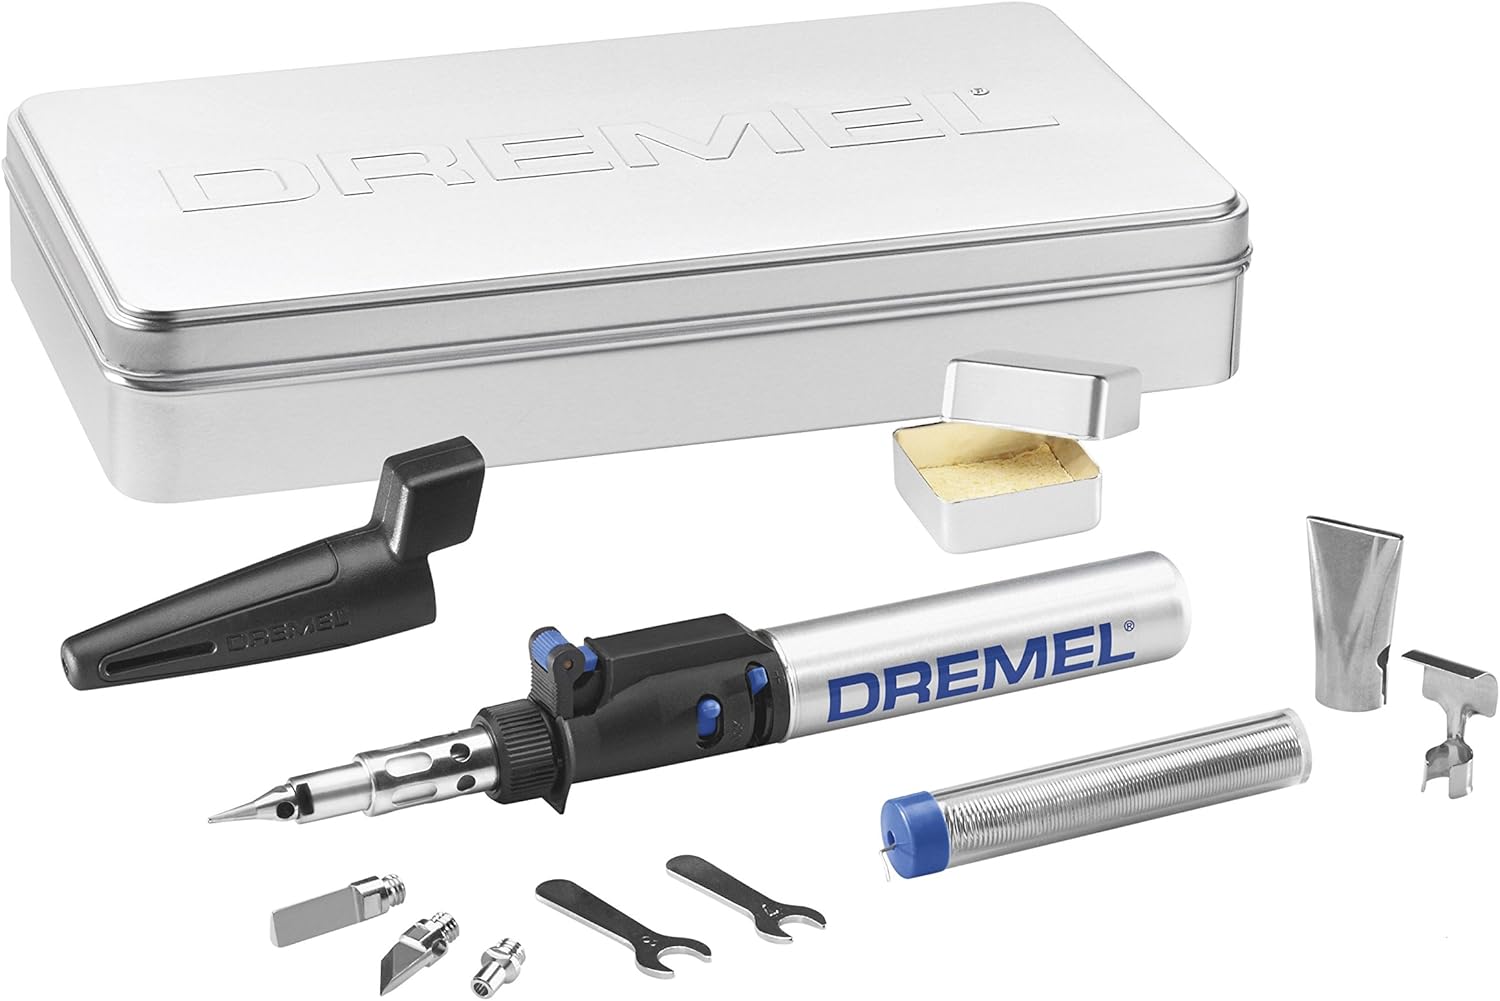
However, the butane canister is of limited size and therefore can only be used for short periods. One butane canister roughly provides 75 minutes of use. So for those longer projects or those burning continuously throughout the day may find themselves regularly refueling.
The 2000-01 Versa Tip Butane Torch by Dremel is a mid-level tool ideal for wood burning, hot cutting, and shrinking.
The kit includes 14 different nibs and even its own butane torch for soldering! For those serious about pyrography but still getting used to the logistics, this torch is excellent. Its variable temperature control and multi-functional use make for an incredibly versatile tool.
While this is a limiting factor, the butane torch is pretty energy efficient and shouldn’t be put on the back burner (pardon the pun!). It’s an exceptional tool, and at around, $51 with a 200ml refill butane gas can at roughly $15, you’ll get a good bang for your buck!
TRUart Stage I
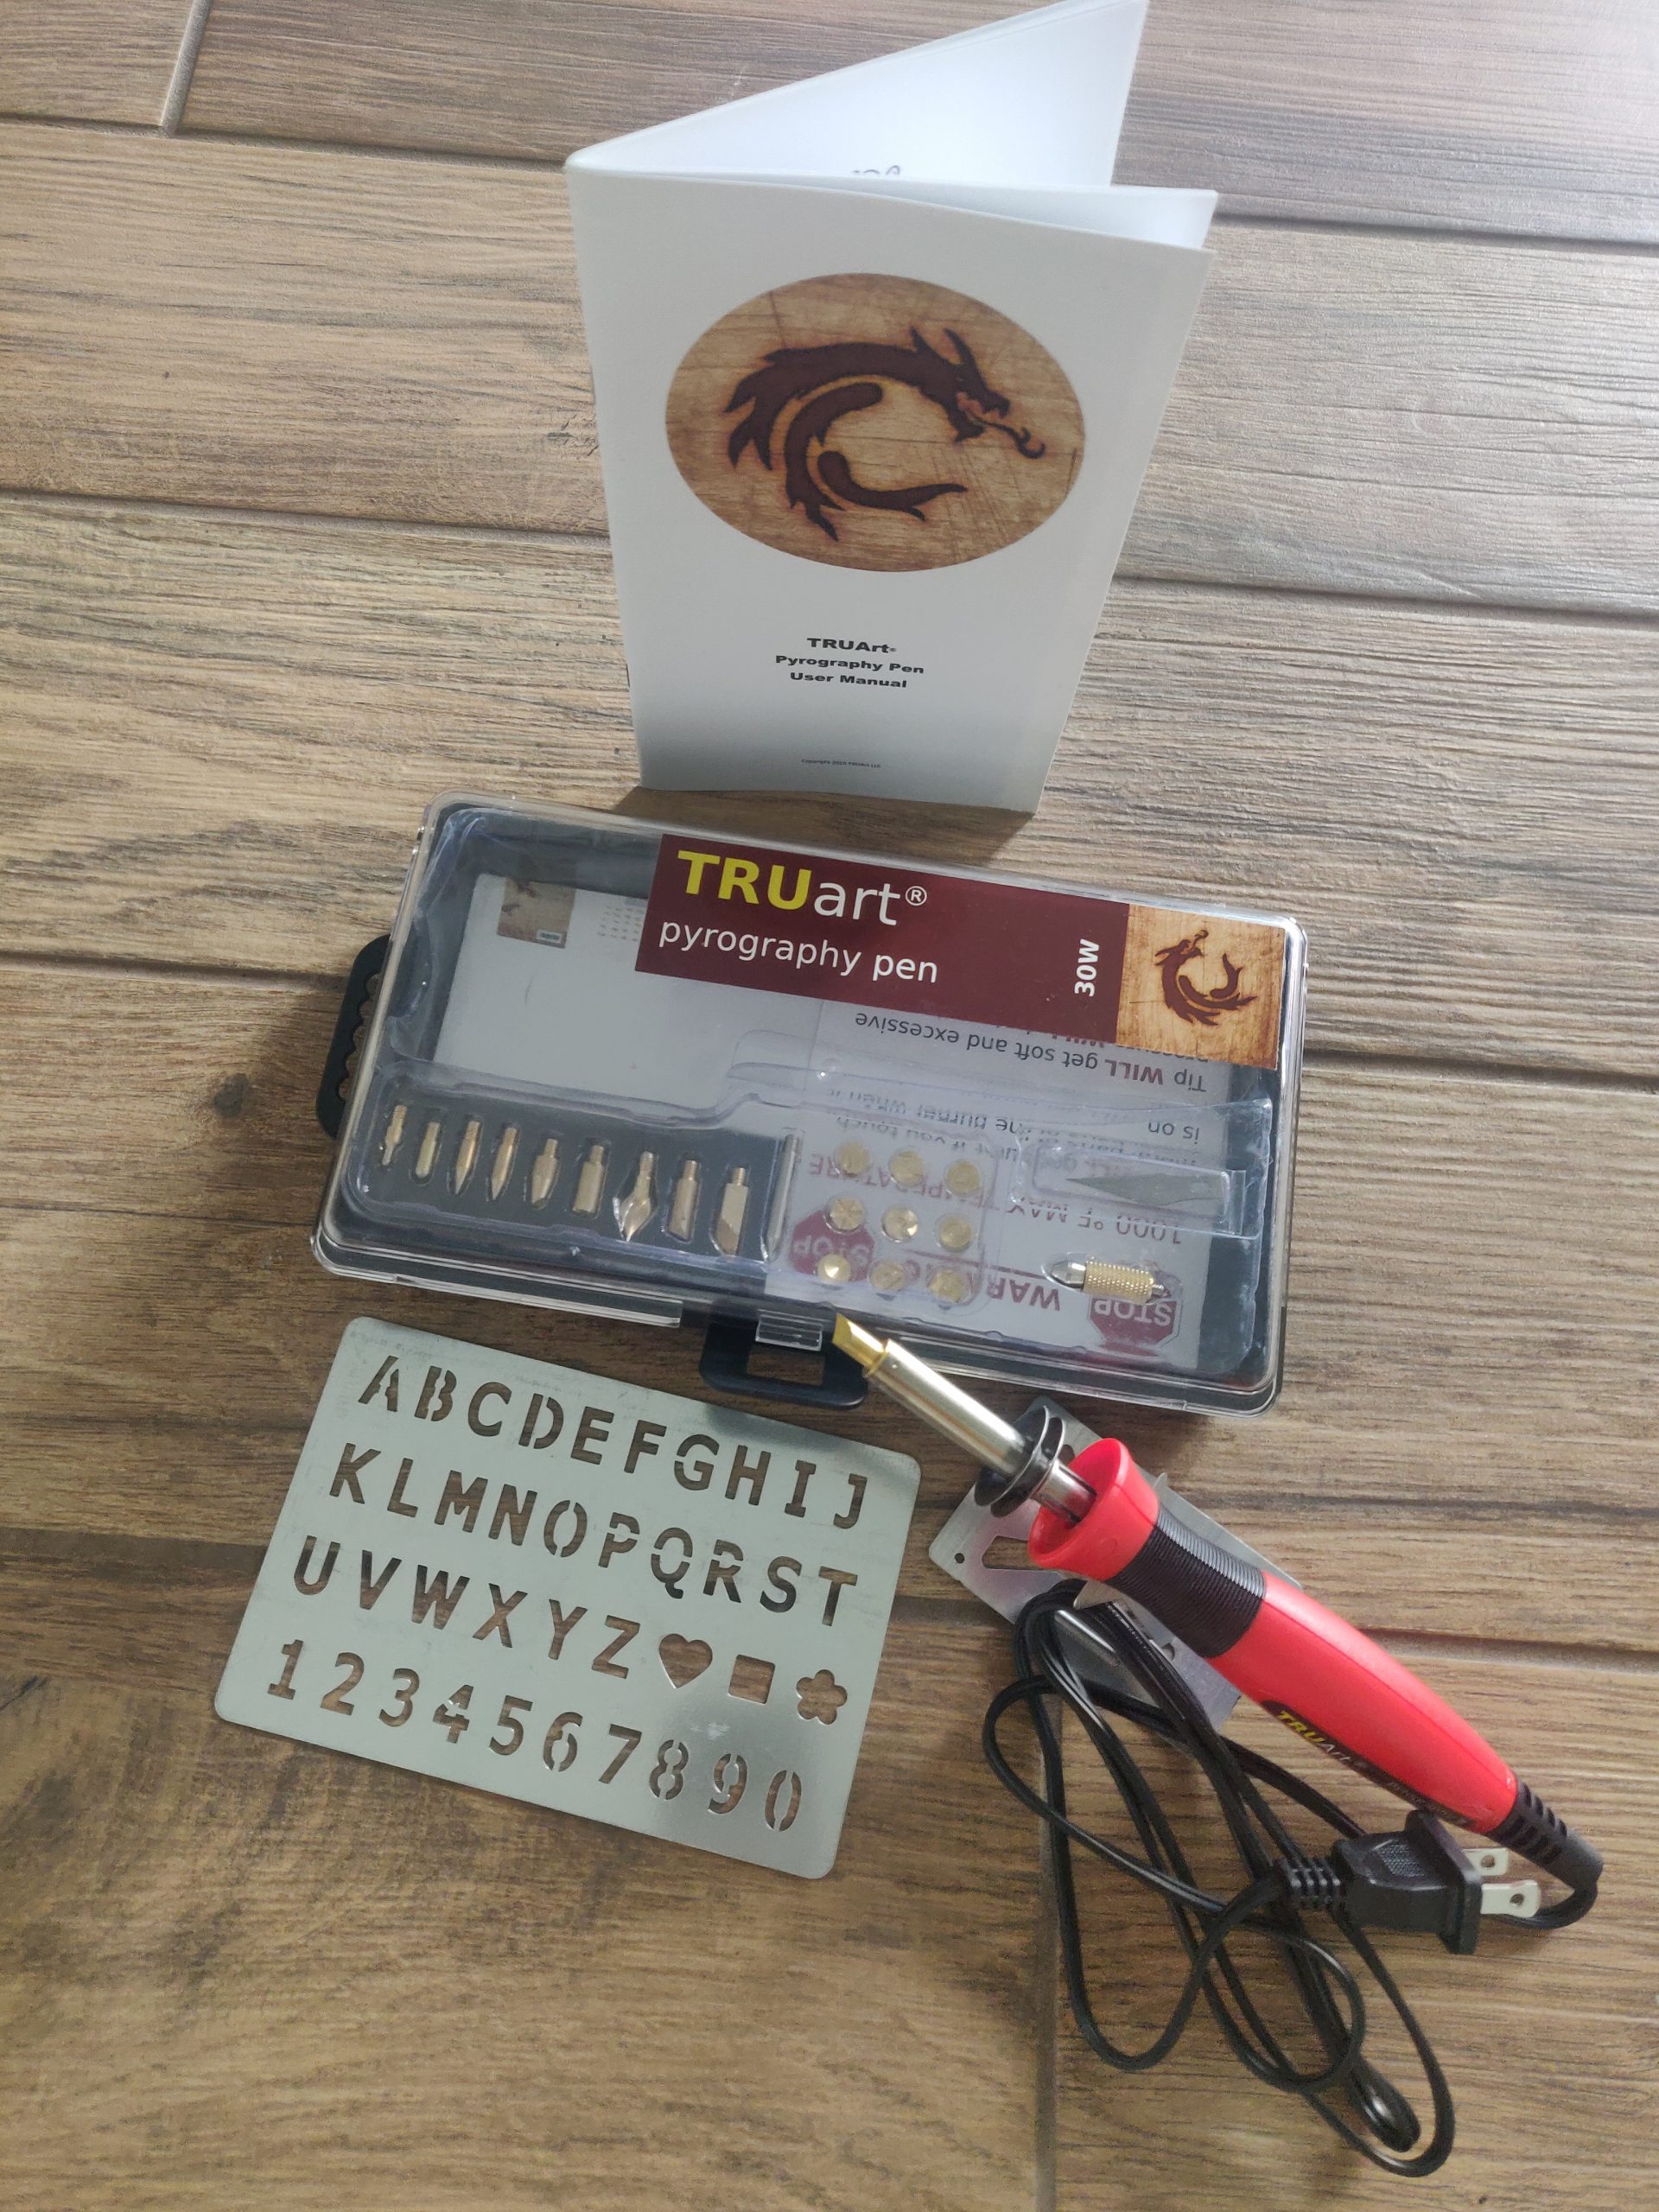
TRUart has developed a series of pyrography tools that progress as you do, making the transition from beginner to professional tools a breeze.
The TRUart Stage I is ideal to start you off. The kit includes 21 different nibs to help you create a versatile range of effects. You also benefit from:
- Stamps for instant intricate designs
- A switch to change from 15W to 30W depending on the nature of your project
- An ergonomic handle to ensure maximum comfort
Whatsmore, TRUart offers a 100% risk-free satisfaction guarantee, which ensures the replacement of any and all tool parts in the event of malfunction or breakage. And all this comes in at a measly $37.95!
For The Pros
Decided to move on from your starter tool? Now, let’s turn our attention to some of the best wood-burning tools for pros:
Razertip Dual Burner
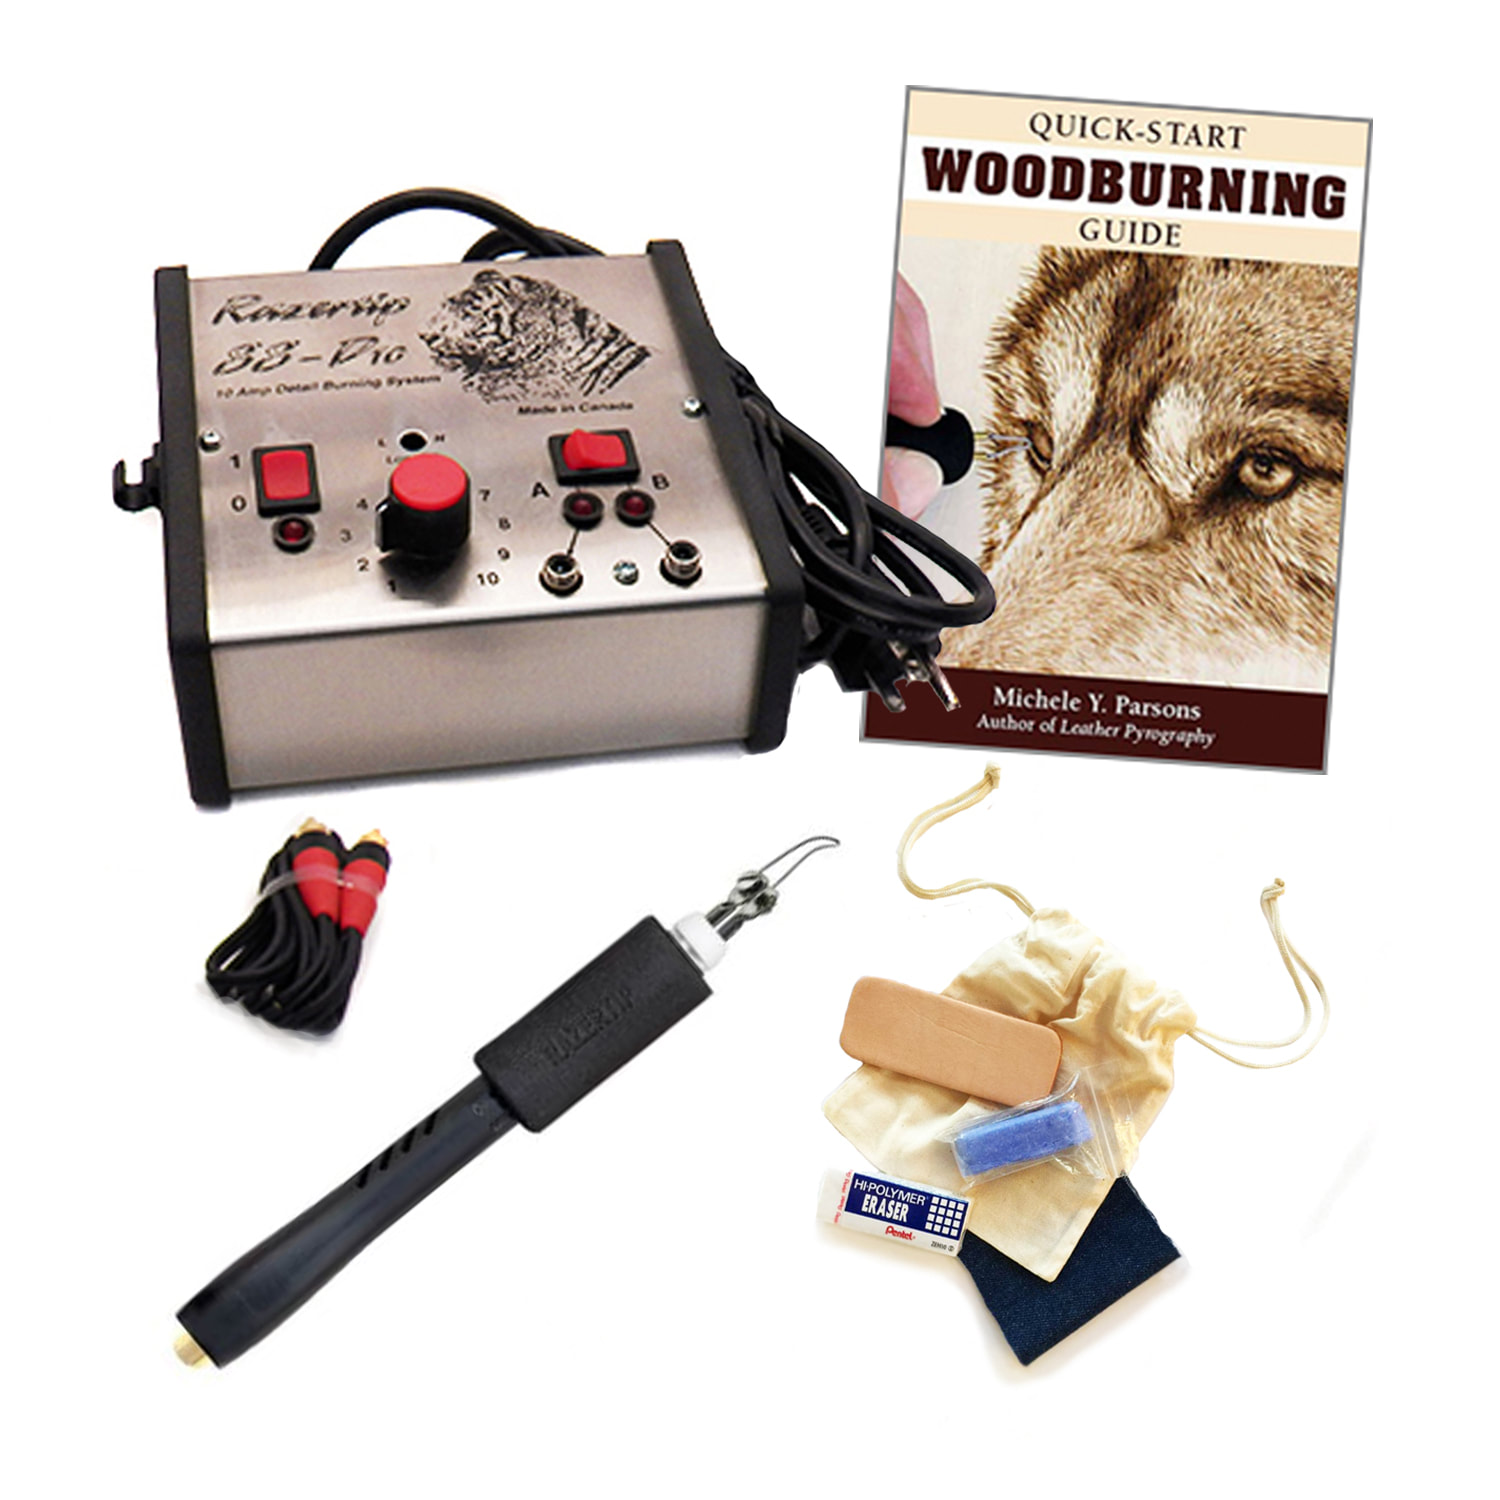
The Razertip Dual Burner maxes out at 1200W, making it one of the most powerful wood-burning tools on the market. Utilizing wire tips rather than brass, the increased conductivity enables quick tip recovery times, with fast warm-up and cool-down periods to ensure efficient and smooth results.
The Razertip’s versatile temperature control allows for a larger scope of detail in your burns. Ranging from 1 to 10, the variable temperatures ensure you don’t over-scorch your work.
Now for a curveball, the Razertip Dual Burner is as good as it sounds; however, at $180, it is rather steep. This is definitely not a tool for a beginner starting out as it’s a significant investment! But, you undeniably get what you pay for.
Colwood SuperPro II

An excellent alternative to the Razertip Dual Burner is the Colwood Super Pro II. This gem of a tool comes with dual wire to enable the use of two pens; the left pen for detail and the right for more heavy-duty scorching. Each pen holds a different temperature, with the detailed wand being lower than the heavy-duty wand. This empowers you to use both temperatures simultaneously without having to wait for your pen to cool off or warm-up – which comes in handy for pros looking to enjoy a continuous burning session.
In addition, the Colwood Super Pro II retains heat exceptionally well and is ideal for both soft and hardwoods. Plus, the interchangeable tips available are extensive; with over 40 to choose from, you’ll always have the one you need for your project.
This tool also comes with a tip puller, enabling you to exchange tips quickly and efficiently. But, at $217, the Colwood SuperPro II is more expensive than the Razertip Dual Burner. However, with its dual wand and everything else it has to offer, we think it’s worth every extra dollar!
FAQ’s
Last but not least, let’s round-up this blog post with some of the most frequently asked questions we hear about wood burning tools:
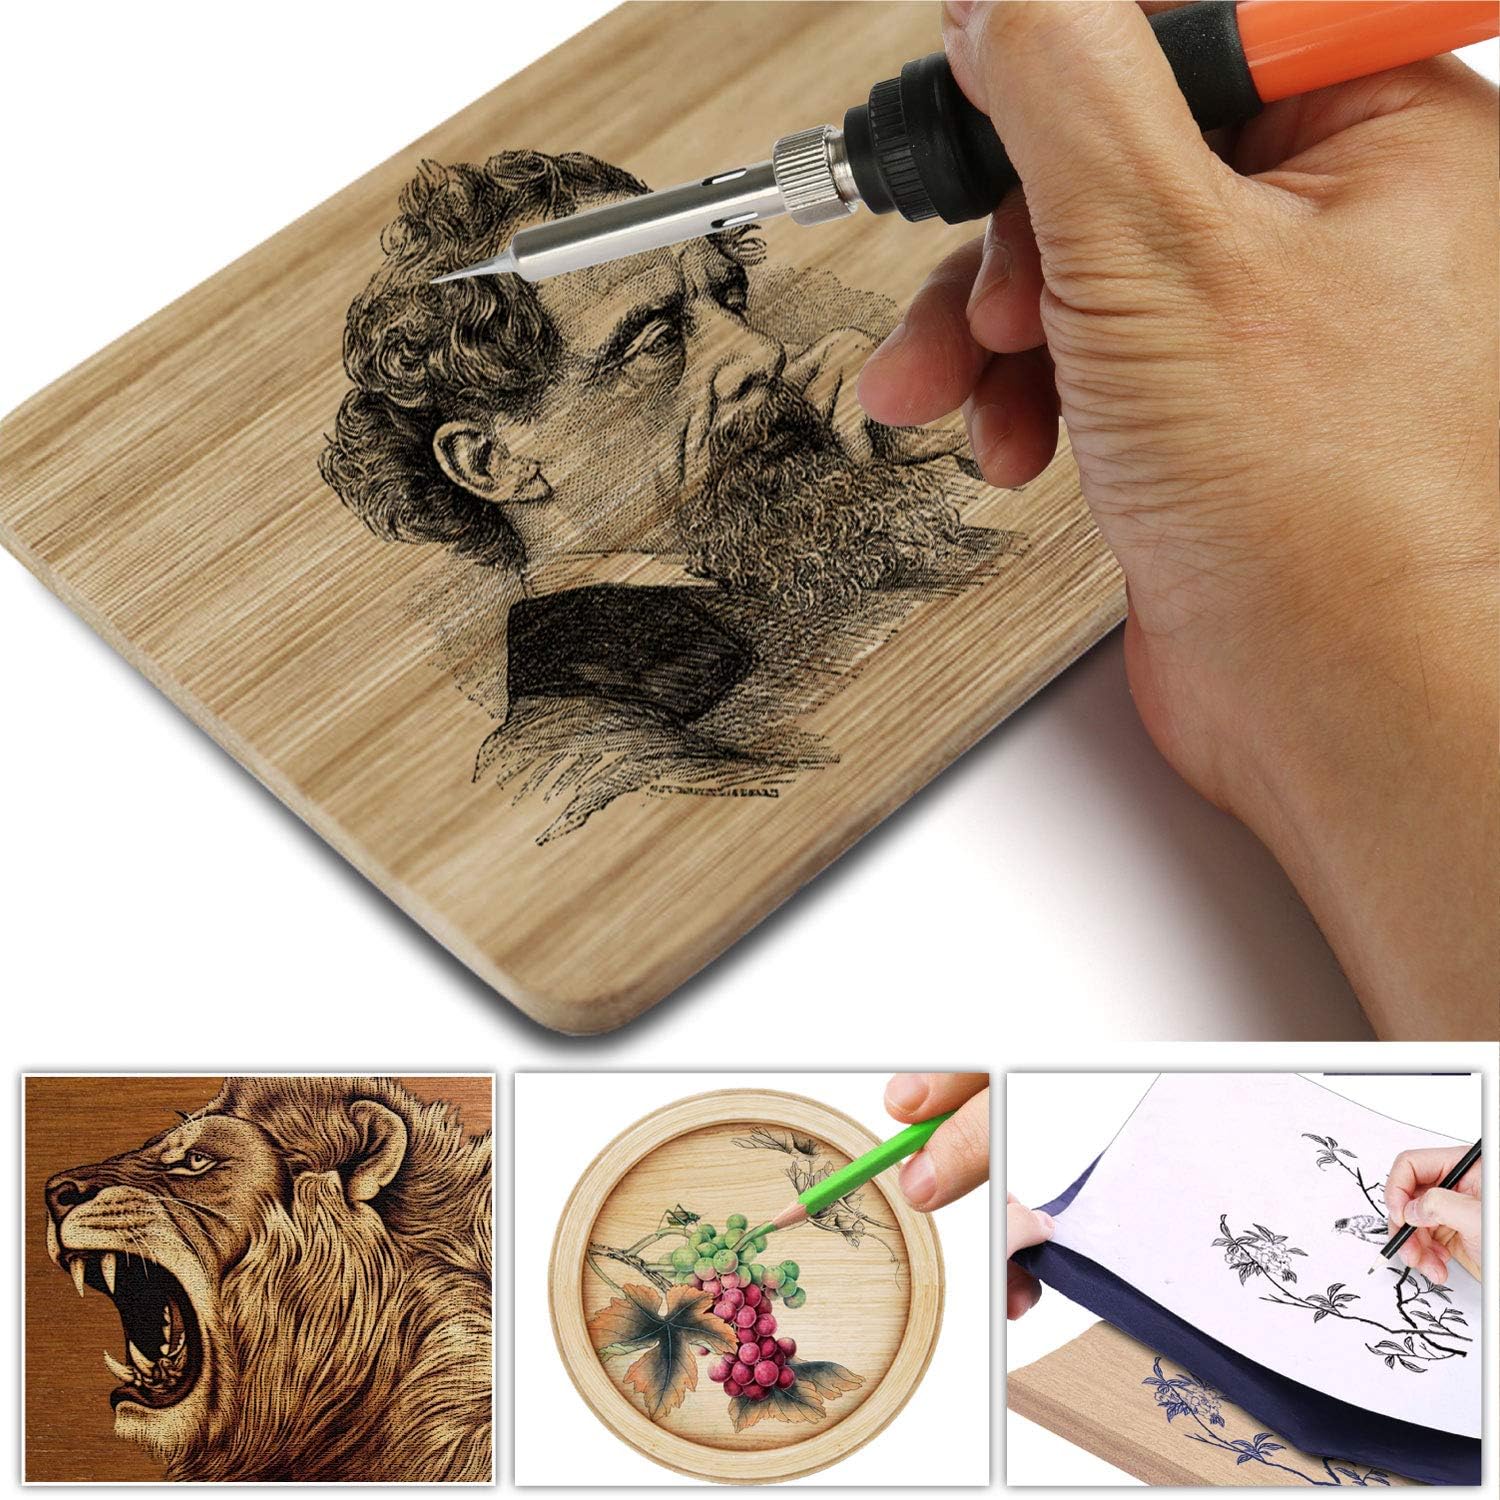
Question: What’s pyrography?
Answer: Pyrography is the art of burning a design into a material with a heated pen or wood burner. It can be used to decorate various wooden items, as well as create entire artworks. Pyrography has been used since the discovery of fire. Early humans used it to create symbols and pictograms – pretty neat, right?
Question: What materials can you burn on?
Answer: Pyrography is mainly used on wood. However, it’s also commonly used on other materials such as leather and dried gourds.
Question: Can I burn painted or varnished wood?
Answer: It’s unadvised to burn any wood that’s been treated with harsh chemicals such as paint or varnish. Wood treated for external use has been exposed to chemicals for it to last against the elements. So, when exposed to heat, these chemicals will release and are exceptionally poisonous for humans.
Additionally, plywood and MDF shouldn’t be burned as the glue, chemicals, and dust used to bind the wood chips can cause damage to your lungs.
Question: What are the best types of wood to use?
Answer: Most woods (except those mentioned above) are ideal for wood-burning. However, as a beginner, it’s advised to start with softwood as they’re easier to burn and requires lower heat. Such woods include pine, fir, and cedar.
In contrast, hardwoods such as oak, maple, or walnut are more challenging. They require a higher skill level, patience, and hotter heat to ensure optimum results.
We suggest starting on a flat piece of wood and then progressing to more challenging shapes as you get to know your tool and how to use it better.
Question: Should I prepare the wood before burning it?
Answer: No matter the type of wood you go for, they all need prepping before you can attack it with a burning tool. It’s essential to sand down your surface before burning to remove any impurities that might ruin your design.
First, sand the wood using 220 grit. But, depending on the condition of the wood, you may have to use rougher paper (60/80) and then lower to 220.
Once the wood is at the appropriate smoothness, take a wet sponge and wipe it over your surface. The wood should be damp but not saturated. Wetting the board reveals the grain of the wood. Then, let it dry. Once dry sand again with 220, and you are ready to go!
Question: What safety measures should I take while wood burning?
Answer: Apart from the obvious – not touching the nibs when they’re hot. There are other safety requirements when wood-burning. Firstly ensure your workspace is clear of any flammable objects. You’ll also want to ensure your work surface is stable and heatproof.
Tie back your hair and loose clothing to avoid going up in flames! It’s also worth wearing safety goggles and heatproof gloves.
Also, don’t forget to always turn off your burner when you leave your project and unplug it entirely if you’re vacating your workstation. Lastly, always use pliers to remove hot nibs to avoid scalding your fingers.
Are You Ready to Use The Right Wood Burning Tool for Your Project?
Pyrography and wood-burning is incredibly enjoyable hobby. However, the art of wood-burning wouldn’t be possible without the right tools. Whichever you choose comes down to personal preference.
But, in our opinion, the Colwood SuperPro II is the ultimate tool for beginners and pros alike; with its dual aspect elements, this tool provides the best of both worlds. It’s easy to handle as a beginner and ensures you won’t need an upgrade for more daring projects in the future. However, it’s costly, so carefully consider whether you have the budget and think you’re going to take this craft seriously!
That’s it from us! Which wood-burning tool did you like the look of? Tell us all about it in the comments box below!