- Super Glue vs Epoxy - February 10, 2022
- How to Get Started with Stippling Art - January 18, 2022
- Brother PE770 Review and Guide - January 14, 2022
Any enthusiastic crafter knows that Styrofoam is a versatile addition to their creative toolbox. Not only is it widely used by adult crafters, but it also comes in handy if you’re looking for fun ways to entertain the kids with arts and crafts.
There are multiple ways crafters use styrofoam in their projects, and we expand on that later in this review. But first, we’re covering a few basics before we decide on the best way to cut styrofoam…
Let’s dive in!
What’s Styrofoam?
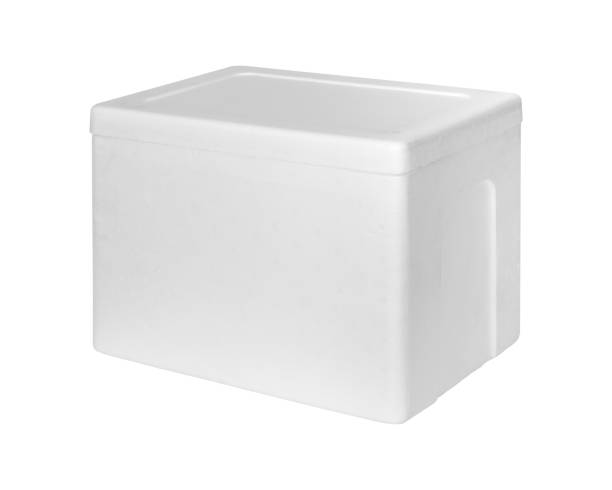
First off, it’s a trademarked term that’s commonly used to describe polystyrene. It comes in different sizes and shapes, including big sheets that can be cut into any shape or size you want.
We’re not going into the nitty-gritty about its chemical composition, but suffice to say, it’s not only used in crafting but also in different building projects. This includes insulating walls and roofs against water damage because it doesn’t absorb water. It’s made from petroleum-based plastic and is very lightweight.
Back to Styrofoam and its role in crafting, what does Styrofoam feel like? Well, it boasts an uneven or rough feel on its surface. As such, if you wanted to paint it, that texture would show through the paint.
It doesn’t degrade or break down over time. Still, it’s tricky to cut because it crumbles, which is why we’re providing some sage advice on how to make the most of this versatile crafting product.
If cut incorrectly, you’ll get broken edges that look untidy and most likely won’t be fit for purpose. There are a couple of simple steps you need to take when cutting this material, and we’re going to go through each one now:
Step 1: Scoring
First off, you need to score the Styrofoam so that you can make a clean break line. You can do this by using a sharp thin object such as a key, credit card, or a butter knife.
Whatever you use, the point needs to penetrate the foam to create a groove where you plan to cut. As you go about doing this, make sure to use even pressure.
Once you’ve scored your foam, you can break it along your scored cutting line. For the best results, do this on a flat, even surface. We suggest either a tabletop or a kitchen counter. Gently press down along your scored line to achieve a clean break. If there’s any excess foam that’s crumbled away or still attached, just remove it with your crafting knife or a serrated kitchen knife.
Step 2: Your Cutting Tools
You can use several tools to cut styrofoam. However, the best for your project will depend on the size, thickness, and type of cut you want.
Let’s take a look at each cutting tool in turn:
An Electric Knife
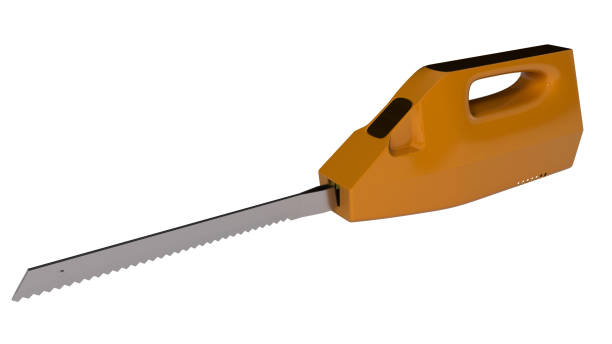
If you have a well-equipped kitchen, you may already have an electric carving knife or an electric knife that fillets fish lurking about – either is ideal. Just place the electric knife along the cutting line you’ve scored. Remember not to put pressure on the blade.
Allow its serrated edge to do the work for you, nice and gently to give you a clean cut.
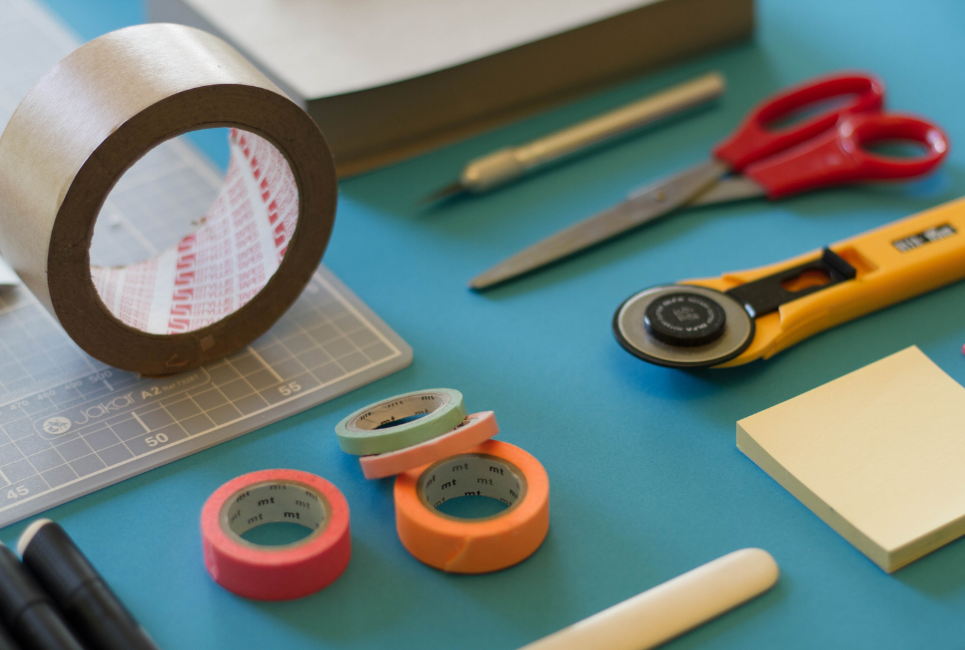
A Craft Knife
If you’re working with a thinner, smaller piece of foam (no more than one inch thick), then a craft knife is your best bet.
However, the difference here is that the sharp craft knife blade can flatten your foam and create an uneven cut. To avoid this, only use this type of knife for tiny, precise cuts while using small movements and steady hands.
Start by making a shallow cut mark in your foam and then run your crafting knife through the foam two or three times. Each time you do this, make deeper cuts until the foam is cut right through.
Top Tip: Change your blades often; otherwise, they risk becoming blunted. If you cut with a blunted craft knife, you’ll get uneven and rough slices.
A Waxed Serrated Kitchen Knife
Grab your serrated kitchen knife and run its blade over a candle. Ideally, use a white candle to avoid covering your foam with colored wax. Then, simply use your serrated knife to make long sawing movements to cut your foam.
Remember to keep the pressure steady and even on the blade while doing this. Otherwise, you run the risk of breaking or squashing your foam.
A Hand Saw
You may have one of these handy tools lurking in your DIY box. Blow the dust off it and put it to good use to get a nice even cut. Here, you can use a hacksaw, a compass saw, or coping saw.
Make long sawing motions as you cut the foam. And, again, remember to keep the pressure even on your tool; otherwise, the result will be uneven, squashed foam.
A Wood Cutting Tool
If your tool shed houses a band saw, scroll saw, or power saw, you can also use these to make nice clean cuts into your foam. They help cut large and bulky pieces rather than smaller, thinner sheets.
Simply follow the instructions for your wood cutting tool, just be careful to ensure you’re wearing safety goggles when you do. If you’re using a power saw, it’s always wise to wear a dust mask.
The process can create dust that can irritate your lungs if you accidentally inhale it.

A Hot Wire Cutter Tool
You may not necessarily have a hot wire cutter to hand, but they’re easily sourced online, at craft stores, or DIY shops.
Use the hot wire cutter to melt the foam to create a smooth edge. This tool is ideal if you’re trying to cut different shapes. Remember, apply consistent pressure along your cutting line.
Be careful when using this tool because, as its name suggests, the wires get very hot and can burn you. Needless to say, hotwire cutters should not be used by children.
Dental Floss
You may neither have nor want to use your home improvement or kitchen tools to cut your foam. In that case, raid your bathroom cabinet for dental floss!
Dental floss is wax-coated and surprisingly tough, making it perfect for cutting foam sheets in neat, straight lines. As always, lay your foam on a flat surface, but with the dental floss laying underneath it.
Once you’ve done this, put one hand on the foam sheet to hold it still. Then, move your floss gently along the line you want to cut through. Ideally, you’ll have marked this out first. Slice the foam by pulling the end of the floss that’s the furthest away from you, towards you.

The Underwater Trick
Since Styrofoam doesn’t absorb water, one interesting way of cutting Styrofoam is to cut it underwater. As you’ve probably already worked out, it can be a messy, dusty business cutting this product. So, one workaround is to immerse it in water.
However, you’ll need a large container, like a large kitchen sink, shower tray, or bathtub.
Just submerge the foam in a water-filled receptacle and use a knife to cut it. That way, any small bits of dust or crumbs that come off during the cutting process will stay put and not fly off all over your workroom or kitchen.
However, it’s essential that before you let the plug out, you strain the water so that the Styrofoam doesn’t go into your waste system. Once cut, simply pat your Styrofoam gently, and hey presto! It’s ready to use.
Cookie Cutters
Raid your baking drawer and use cookie cutters by pressing them into the foam sheets. This method is best used on foam that’s less than 0.5 inches thick. Again, remember to use a flat and even surface at all times.
A Handy Hack
You’re bound to have some rough edges after you’ve done cutting. To smooth these, rub them gently with another piece of foam.
FAQs
Question: Remind me of all the things I need to cut Styrofoam?
Answer: Here’s our handy go-to list of things you need to have fun crafting with Styrofoam:
• A flat surface
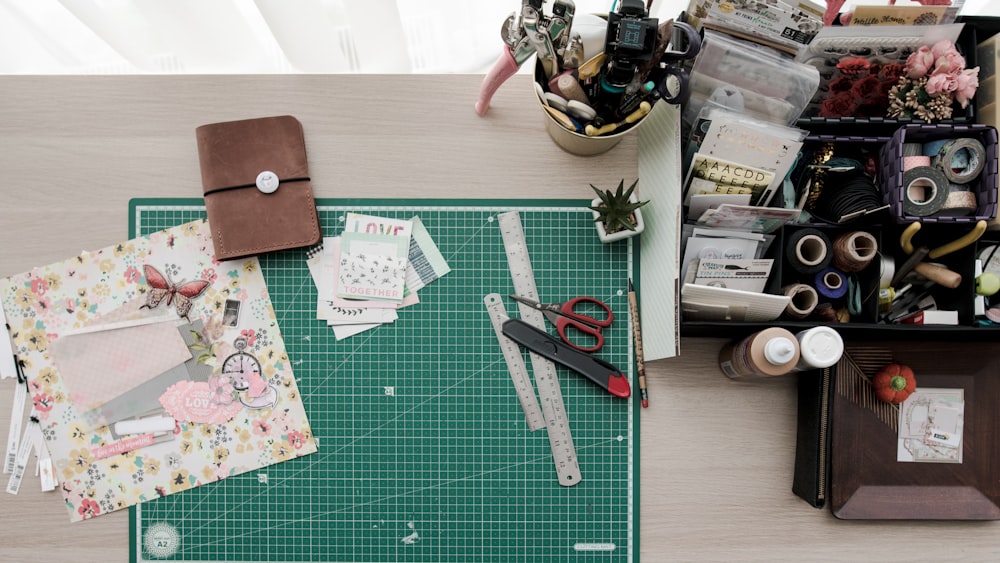
• A cutting mat or cutting board to avoid scratching any domestic surfaces.
• A sharp thin object for scoring (your credit card will do)
• A serrated kitchen knife and white candle
• Craft knife
OR:
• Power saw dust mask and goggles.
• Electric kitchen knife
• Hotwire cutter
• Handsaw
Question: What can I make with Styrofoam?
Answer: There are tons of different crafting projects you can dabble in with Styrofoam. For example, you can cut the foam into different shapes using cookie cutters or a hot wires cutter. Then make printing stamps out of them. Just dab them in paint and work them creatively into your collages and prints. You could also use different shapes to create mosaic tiles that can then be painted.
Alternatively, the foam is handy to use as backing for other crafting and flower arranging projects. It also makes a great pincushion! We’ve also read about using it to make decorations, either for your Christmas tree or as a cheap way of enhancing your home decor with different colored and painted Styrofoam balls.
Talking of Christmas, you can also use it in wreath form as a base to create beautiful festive, Thanksgiving, or Easter wreaths.
Lastly, we all see Styrofoam in our daily lives. Whether it’s eating outdoors from foam plates or drinking coffee from a foam cup. Instead of dumping these in the trash can when you’re done, why not cut and remodel them to create other items?
This an excellent opportunity to combine your cutting skills with your different crafting abilities – and you’re recycling too, win-win! For example, if you’re crafting with your kids, you can turn the cups upside down, paint them and use pipe cleaners and felt to create fun characters.
Question: How can I make Styrofoam smooth?
Answer: We’ve mentioned that the foam has a rough and uneven surface. However, making this a smoother surface to work involves applying other products to it with glue. For instance, a thin layer of paper mache or plaster which you can then paint.
While it’s possible to paint the foam with water-based crafting paints, the indents and bumps still show through its textured surface. You can overcome this by using spray paint and/or acrylic paints instead.
Question: Where can I buy Styrofoam from?
Answer: You can typically buy Styrofoam from your favorite crafting store or a well-stocked home improvement store. It’s also possible to buy it online, and a quick search tells us that it isn’t hard to find.
The only thing worth mentioning is that some online outlets – especially those that deal more in building materials and so on, will have a minimum order limit. So it’s worth looking for online stores that sell it in a variety of thicknesses and quantities; otherwise, you’ll end up with too much.
The best part is that if you’re ordering online, your product is so light that delivery costs will likely be meager.
Final Thoughts
Now that we’ve divulged a multitude of ways you can cut Styrofoam, which will you try? Let us know in the comments box how you get on and which techniques you find best. We look forward to hearing from you soon!
Read more interesting guides below:
The 5 Best Air Dry Clays (ADCs) for Your Creations


