
- How to Find the Best Spray Paint for Metal - December 3, 2021
- Creative Wood Burning Ideas: To Bring Back Your Inspiration! - November 20, 2021
- Best Iron for Perler Beads Guide: To to Enjoy This Craft Even More! - November 20, 2021
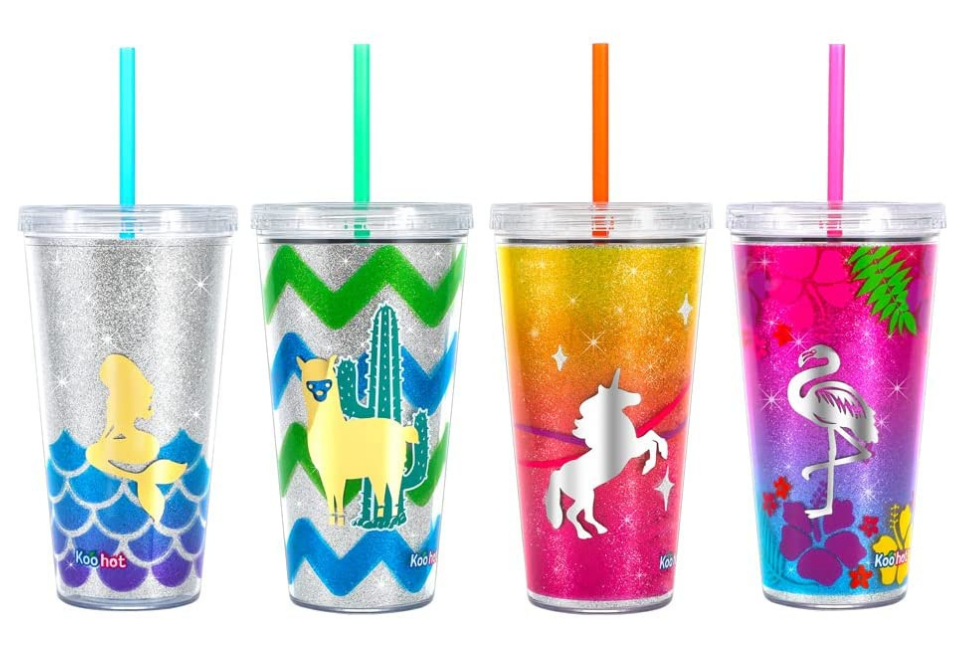
Designing unique and personalized tumblers is one of the most popular crafts today. It is a great way for crafters to make gifts, support local teams or events, and show off their design skills. As with any craft, tumblers require special equipment and materials to design and create them. And just like with any other craft project, crafters want to get the best crafting materials.
The material that can make or break a hand-crafted tumbler is not the stencil, the paint color, or the glitter, it is actually the epoxy. A bad epoxy can create dimples and waves that will not look good no matter how well designed the tumbler may be.
Since it is absolutely essential that crafters use the best epoxy for tumblers available, we need to learn what makes an epoxy good and find out what epoxy brands meet these criteria.
Qualities of a Good Epoxy
With so many choices of epoxy for purchase on the market, it is necessary to do a little research on what makes an epoxy good. If we know in advance what we are looking for in an epoxy we will save time and money and only get the best epoxy available. Here are a few questions to ask before purchasing another bottle of epoxy.
Is it UV Resistant?
UV-resistant epoxy is less likely to yellow over time. This quality should always be considered because no one wants a tumbler to turn an unpleasant color after a few uses.
Is it in Compliance with FDA Standards?
Epoxies that meet the FDA standards mean they can be used on items that hold food and liquid or may be in contact with skin. This is a vitally important quality to consider.
Is its Consistency Thick or Thin?
Most epoxy resins are combined with a hardener. This allows users to create the thickness they need for their projects. It is recommended that the first layer of epoxy should be thin, after this layer is set, a thicker layer is put on.
Is it Popular With Other Tumbler Artists?
A great way to gauge whether or not a particular brand of epoxy is good is to research what other artists are saying about it. If they like it, it probably means you will too.
Is it Heat Resistant?
Since most tumblers need the epoxy coat to be cured with heat, it is a good idea to get heat-resistant epoxy.
Is it Smelly?
Now, every epoxy is going to give off some odor, but if you can stay away from the brands that are particularly strong, you will do yourself a huge favor.
Please keep in mind that it may not be possible to find an epoxy that meets every one of these criteria, but this should give you a general outline of what to look for in a good epoxy. And, of course, you should never use epoxy on a tumbler that is not food safe.
The Best Brands of Epoxy
Now that we know what we are looking for in a quality epoxy, we can begin looking at specific brands. Let’s examine several different brands to learn what their pros and their cons are.
Art N Glow Casting Resin

This may be the perfect epoxy for beginners. It is easy to use, has little odor, and creates beautiful works of art.
Pros
- It dries crystal clear
- It is easy to mix with a 1:1 ratio for resin and hardener
- It is non-toxic
- It is self-leveling
- It has a low level of odor
- It provides a high gloss to finished products
Cons
- Some users have stated that this brand doesn’t harden well
- Some users have had trouble with it turning yellow
ProMarine ProArt Epoxy Resin

This epoxy is an excellent choice for professionals or for budding entrepreneurial artists. Of course, it can be used on tumblers but is also good for other arts and crafts, such as painting, woodwork, and photography.
Pros
- It is food safe
- It is heat resistant
- It does not have any dangerous fumes
- It is made of non-toxic ingredients
- It is easy to use with a 1:1 ratio for resin and hardener
- It features a self-leveling formula
- It produces a high level of gloss and shines
Cons
- Some users have stated that it dries yellow
- Some users have stated that it is extremely bubbly
Stone Coat Art Coat Epoxy Kit

This brand of epoxy is a very professional option. It allows artists to quickly and easily coat their projects without worrying about bumps or yellowing. Stone Coat is another brand that works well for coating tumblers, jewelry, photos, and wood.
Pros
- It is food safe
- It is heat resistant
- It can be tinted with a liquid pigment
- It is not toxic
- It does not have a strong odor
- It gives artists an extended amount of time to work with it
- It is easy to clean
Cons
- It is pricier than some of its competitors
Environmental Technology Pour-On Kit
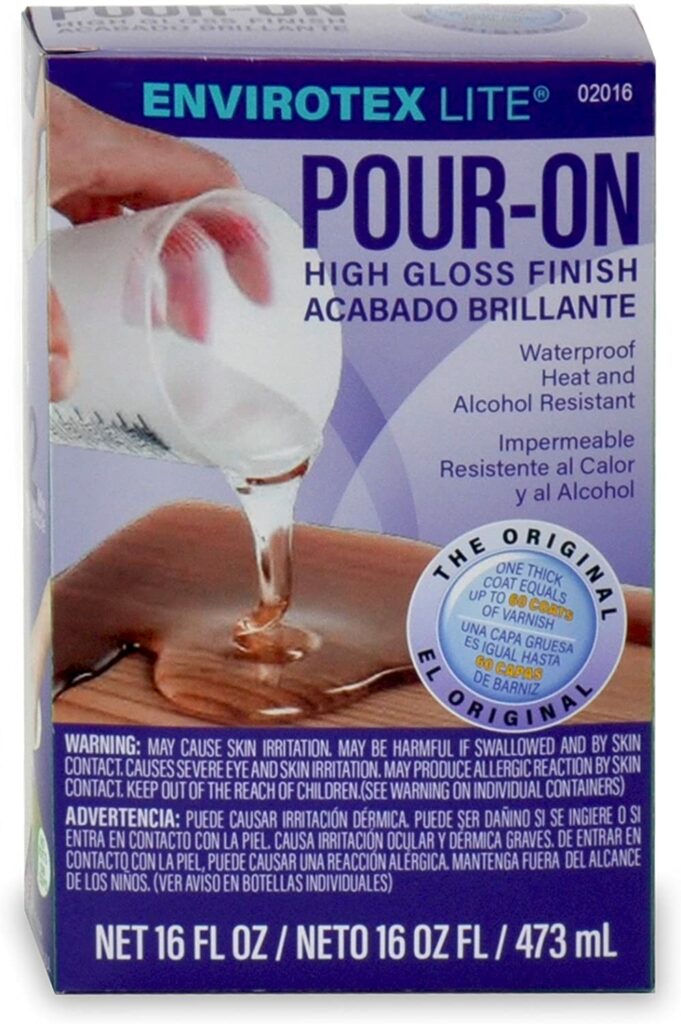
With the safety of the artist and the user in mind, this brand of epoxy is a sure fit for those who want to use a product that is environmentally conscious. Envirotex’s website provides an easy-to-access and understandable data sheet that explains how its product is in compliance with FDA standards.
Not only is this brand taking steps toward safety and authenticity, but it also produces one of the most raved about epoxy brands on the market.
Pros
- It is FDA compliant when the coatings are mixed, poured, and dried properly
- It is easy to use
- It pours easily
- It cures in about 8 hours at 70 degrees Fahrenheit
- It has minimal odor
- It is waterproof
- It is heat resistant
- It is alcohol resistant
Cons
- It does tend to turn yellow over time
- Some users have stated that it did not cover the amount of space that it claims on the box
- Some users have stated that it dries bubbly
Counter Culture DIY Clear Artist Resin

This is an epoxy resin that many artists are beginning to flock to. It is known for its crystal-clear finish and low odor level. Check out all its lovely qualities below.
Pros
- It is FDA compliant
- It is heat resistant up to 500 degrees Fahrenheit
- It has a low level of odor
- It is UV resistant
- It dries clear
Cons
- It gives artists only 25 – 40 minutes of working time
- It is a pricier option
- It can be difficult to dry in warmer temperatures
Faux Rizzle Art Resin

Here is another epoxy brand that is hitting the craft world hard. Tumbler creators are very pleased with the clear and glass-like quality of this resin, so it is becoming very popular.
Pros
- It is VOC free
- It is nearly odorless
- It is heat resistant up to 500 degrees Fahrenheit
- It is easy to apply
- It dries clear
Cons
- It does not dry well in humid conditions
KSResin Liquid Art Ultra UV

If you are looking for an epoxy that stands against yellowing, this is it. It is the perfect option for tumblers that are painted white or cream colors. Give it a whirl.
Pros
- It is extremely UV resistant
- It is easy to work with
- It dries hard and clear
- It is food safe when fully cured
Cons
- It works best when poured in temperatures ranging between 75 and 80 degrees Fahrenheit
- It does have an odor
- It is scratch-resistant, but not scratch-proof
FAQs
Question: How Do You Make a Glitter Tumbler?
Answer: Hands down, glitter tumblers reign in this part of the crafting world. Almost everyone who makes tumblers at home or has a tumbler design tutorial online is going to throw some glitter on the drinking vessel.
With that in mind, it may be a good time to walk through the steps of how to make a glitter tumbler and get some product recommendations.
• Wash and dry the tumbler thoroughly
• Tape the top and the bottom of the tumbler
• Spray paint the tumbler a solid color and let it dry completely
• Apply a layer of mod podge or epoxy to the outside of the tumbler
• Place the tumbler on a cup turner
• Pour glitter all over the tumbler while it rotates on the cup turner
• Coat the glitter-covered tumbler with another layer of mod podge or epoxy
• Allow this layer to dry completely
• Seal the layer of glitter with Krylon Clear Coat Spray
• Allow this layer to dry completely
• Remove the tape from the bottom and the top of the tumbler
• Place new strips of tape on the bottom and the top, but move them slightly so that a little of the unpainted tumbler is showing
• Apply a layer of epoxy while the tumbler is rotating on the cup turner
• After about 5 to 10 minutes, remove the tape from the top and the bottom of the tumbler
• Allow the tumbler to dry on the cup turner for 6 to 8 hours or until the epoxy is no longer sticky to touch
• Sandpaper rough spots
• Use alcohol and a cotton ball to clean the tumbler
• This is the step where you would add a decal to the tumbler if you want to include one
• Tape the bottom and top of the tumbler again
• Apply another layer of epoxy while the tumbler is rotating on the cup turner
• Allow the tumbler to dry on the cup turner for another 6 to 8 hours
This is the final step and you should not need to do any further sanding
Recommended Glitter:
Be sure to get glitter that is colored all the way through and not just on the surface. TipsyGlitz sells some of the finest glitters for creating tumblers.
Question: What Supplies Do You Need to Design a Personalized Tumbler?
Question: What Supplies Do You Need to Design a Personalized Tumbler?
Answer: Designing a personalized tumbler requires more than just a tube of paint, a plain stainless steel tumbler, and some clear epoxy resin. This craft requires many steps and layers, which means extra equipment. So, if you are excited about creating your own special set of tumblers, get ready to write down your shopping list.
Brushes -Designing a tumbler is going to require many brushes for painting colors and smoothing out the epoxy.
• Cup Turner – This is an essential tool for designing tumblers. The tumblers must be allowed to dry for several hours after each coating and in order to get a smooth, even finish, the cup must be continuously rotated.
• Disposable Gloves – Always protect your skin when you work with chemicals and colors. It is much easier to buy a package of disposable gloves than to worry about burning yourself or scrubbing your hands for hours.
• Epoxy Resin – We know what to look for in a good epoxy.
• Foam – This piece of equipment is also used during the drying process. It simply gives some stability to the rotating tumbler.
• Glitter – You are not required to use glitter on every tumbler, but it is a very popular way to decorate them.
• Mixing Sticks and Cups – Keep a supply of these around for easy paint and epoxy mixing.
• Mod Podge – Use this to stick glitter or photos or other pieces of decoration to the cup.
• Painter’s Tape – Use painters’ tape to create unique patterns and designs without destroying anything underneath.
• Sandpaper – This may be necessary to use if there are any rough spots after drying.
• Silicon Mats – Remember to place a silicon mat under your workspace so you don’t destroy your furniture.
• Stainless Steel Tumblers – This is a given.
Question: How Can Bubbles and Dents in Epoxy be Fixed?
Answer: If your epoxy dries with bumps, it will be necessary to use sandpaper to smooth it out. Bumps in epoxy cannot be fixed by applying more epoxy to the tumbler. If your epoxy dries with dents, applying more epoxy can fix the issue.
Question: How Can Bubble and Dents in Epoxy be Prevented?
Answer: Make sure the tumbler is level on the cup turner. This will help prevent ridges on the bottom or top lip of the tumbler.
Make sure all the pasted-on decorations are glued down tightly, dried thoroughly, and smoothed down as much as possible before applying the epoxy. This will help prevent the epoxy from seeping into holes and lifting up the decorations.
Make sure the epoxy has been mixed well and allowed to sit for a good length of time so the air bubbles can escape.
Consider using a heat gun just after applying the epoxy so that the air bubbles are pushed out.
Question: What Safety Precautions Should be Taken When Working with Epoxy?
Answer: Epoxy resin is a chemical that is harmful to the eyes, lungs, and skin. Whenever you use epoxy for any type of project, it is highly recommended that you take safety measures seriously. Protect yourself by following these guidelines:
• Wear goggles: Don’t take any chances with your eyesight. A small splatter of epoxy in your eye can cause great harm to it. It takes a second to slip on glasses and give yourself some peace of mind. If you do get epoxy in your eyes, rinse them immediately in cold water for 15 minutes. Get medical attention right away.
• Wear gloves: Never handle epoxy without gloves on. The epoxy contains chemicals that can cause skin irritation and there is no reason to put yourself through that pain. If you do get epoxy resin on your skin, use a waterless skin cleaner to remove it. If you get an epoxy hardener on your skin, use soap and water to remove it. If it is mixed epoxy, remove it immediately with soap and water and a waterless skin cleaner.
• Wear a respirator: If you cannot ventilate your workspace properly, you should wear a ventilator every time you work with epoxy.
• Properly Dispose of Epoxy: Take precautions when you dispose of your unneeded epoxy. Never put in the trash in its liquid form. Mix a little hardener with it, let it dry, and then, place it in the rubbish bin.
Concluding Thoughts
As you can see, this craft does require a lot of attention to detail, a lot of knowledge, and a lot of creativity. However, once you learn the basics, it can be such a wonderful way to gift your friends and family or turn it into a home business. Everyone loves a personalized tumbler, especially if it celebrates their favorite things and is just for them.
Now that you have the knowledge to find the best epoxy for your tumblers and you know some techniques for designing them, you are well on your way to a successful crafting adventure.